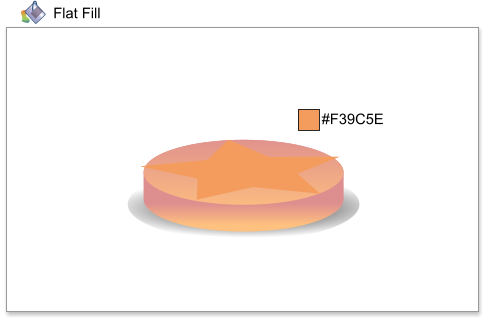
 Step 11: For the star use a solid fill color #F39C5E.
Step 12: Select the star and add a feathering of 1.8 pixels.
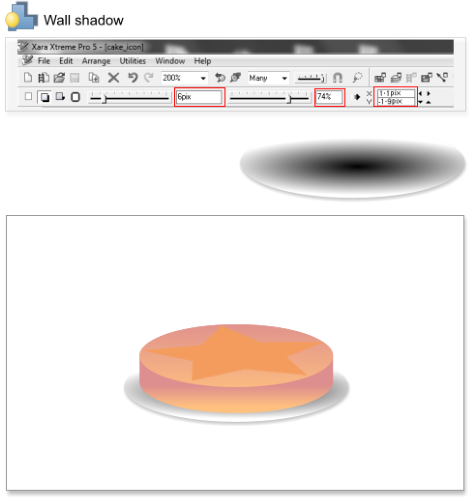
Step 13: Add a wall shadow to the plate. Blur = 6 pixels, transparency = 74%, horizontal and vertical positions = 1.1 & -1.9 pixels.
Step 14: Add a wall shadow to the cake. Blur = 6 pixels, transparency = 74%, horizontal and vertical positions = -0.2 & -2.6 pixels.
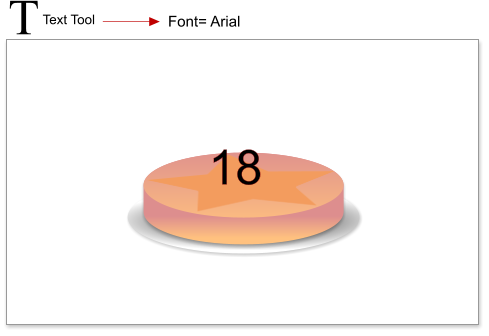
Step 15: Add a number using the Text tool - I’ve used the Arial font at 36 points.
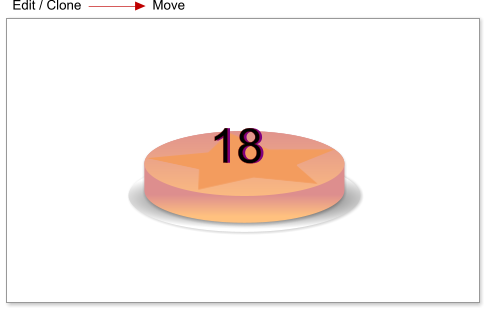
Step 16: Clone the number and move it a little to the right to create a sort of 3D effect.
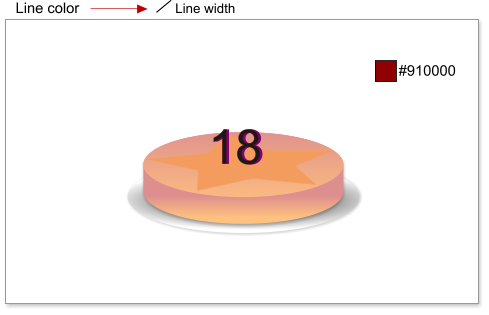
Step 17: Select both numbers, change the line width to 0.3 pixels and set the line color to #910000 (shift click on the Color Editor to edit the line
color).
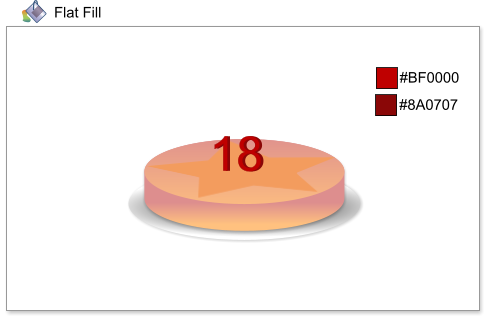
Step 18: Add a flat fill to the numbers, use the color #BF0000 for the number in front and the color #8A0707 for the number in the back (you might
need to zoom in a bit for this step).
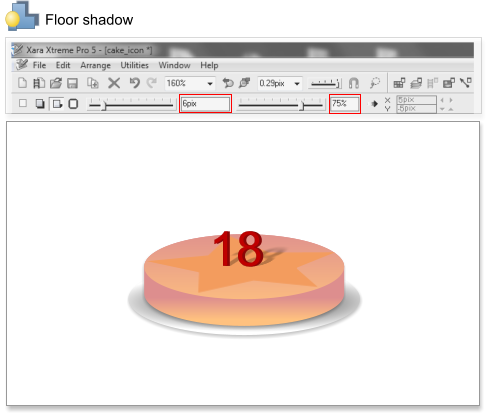
Step 19: Select both numbers and group them, using Arrange > Group, or the shortcut Ctrl+G. Add a floor shadow (blur= 6 pixels, transparency= 75%).
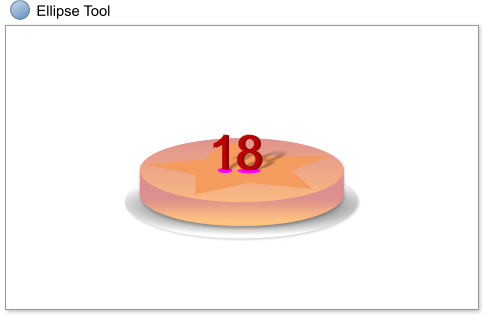
Step 20: Using the Ellipse tool create two circles under the number. Select the number and send it to front using the shortcut Ctrl+F.
Step 11: For the star use a solid fill color #F39C5E.
Step 12: Select the star and add a feathering of 1.8 pixels.
Step 13: Add a wall shadow to the plate. Blur = 6 pixels, transparency = 74%, horizontal and vertical positions = 1.1 & -1.9 pixels.
Step 14: Add a wall shadow to the cake. Blur = 6 pixels, transparency = 74%, horizontal and vertical positions = -0.2 & -2.6 pixels.
Step 15: Add a number using the Text tool - I’ve used the Arial font at 36 points.
Step 16: Clone the number and move it a little to the right to create a sort of 3D effect.
Step 17: Select both numbers, change the line width to 0.3 pixels and set the line color to #910000 (shift click on the Color Editor to edit the line
color).
Step 18: Add a flat fill to the numbers, use the color #BF0000 for the number in front and the color #8A0707 for the number in the back (you might
need to zoom in a bit for this step).
Step 19: Select both numbers and group them, using Arrange > Group, or the shortcut Ctrl+G. Add a floor shadow (blur= 6 pixels, transparency= 75%).
Step 20: Using the Ellipse tool create two circles under the number. Select the number and send it to front using the shortcut Ctrl+F.


 © José Campoy