
thinking outside the box
Photo Pop-ups & Galleries For Your Website


XARA TUTORIAL
Text here...


Groups and Pop-ups
There’s an important point about groups. If you group a photo with other things, perhaps other photos or some text, then the pop-up will display everything in the group. This can be very useful and powerful - it means you can easily create pop-ups from anything, including text and vector graphics.Pop-up Layers
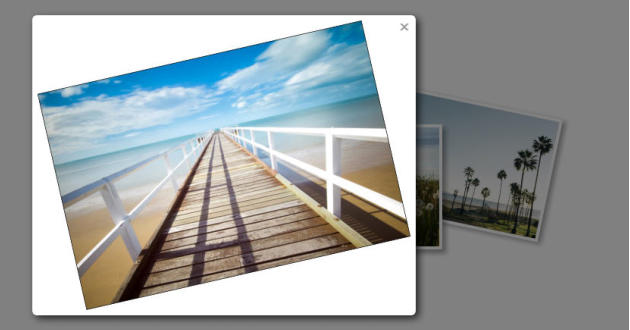
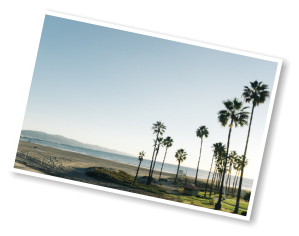
Suppose you wanted a more varied arrangement, such as photos on an angle. These are just images dropped onto the page, rotated, given a white outline and a soft shadow, which makes an attractive photo arrangement. The pop-up is an exact copy of the image, just enlarged, and whilst this functions, the problem is that the enlarged image is now rotated like the thumbnail, like this: An example of a rotated image that has been popped up. (The properties have been set to ‘dim background’ so the page is dimmed when
there’s a pop-up.)
Of course, in some circumstances you may want an enlarged rotated image, for example, if it was a graphic design not a photo. But you might
prefer that the enlarged pop-up images are not rotated and that they contain some text. You can do all this, and more, using layers, but it is a
little more time consuming to set up.
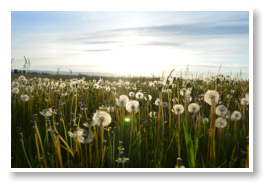
For example, these pop-ups are done with layers. (Click an image to see the effect):
Click to see the custom pop-up layer with background rectangle, text overlay, large soft shadow.
To create an effect like this:
1.
First create a new layer: Right click on the page in the Page & Layer Gallery, and select New Layer, then give it a name
2.
Add the objects you want to this layer. In this case I added a blue rectangle with a drop shadow, a larger version of the photo and the
required text. All this goes onto the new layer I just created. I positioned this on top of the images, although you can make this pop-up
appear anywhere on the page you want
3.
Hide the layer by clicking the eye icon in the Page & Layer Gallery
4.
On the image you want to be the trigger, open the Link tab of the Web Properties dialog (Short-cut:
  ) select the Pop-up layer:
option and from the drop down menu select the name of the layer you just created (I called mine P2). Click the adjacent Settings: to
adjust the animation property for this layer.
 You can make it fade in and out, or you can make it animated, sliding in from any of the sides if you wish. I like the fade-in option, so when you
click on the thumbnail it pops up, with a nice fade in effect.
Finally...
With Xara Web Designer and Xara Designer Pro it’s easy to create photo galleries that can be anything from a simple grid of thumbnails to more advanced hand-made galleries. But of course they can do a lot more - these are flexible powerful web design programs, that don’t require any knowledge of HTML. If you’re a creative designer your options are unlimited, and if you’re less creative (or simply don’t have the time), then you can just customize the templates and widgets provided!Try it!
If you don’t already own Xara Web Designer or Xara Designer Pro, why not download the free trial version and try it now. For more tutorials by Xara and third parties, check out our Resource index, which offers a searchable and browsable list of movies and tutorials created by Xara and third parties.
