


© Xara Group Limited


Next we're going to replace the top photo, so select it using the Selector Tool, and delete it. We will create our own graphic for the top of the
left column. But first, we need to create a space for it. Use the Text tool and click on the text to select it. Notice the red dotted line that shows the text box area. Drag down the top right square to move the start of the text column down (note that the column is set to
automatically flow onto the next column so the text will adjust when you reduce or increase the size of the text box).
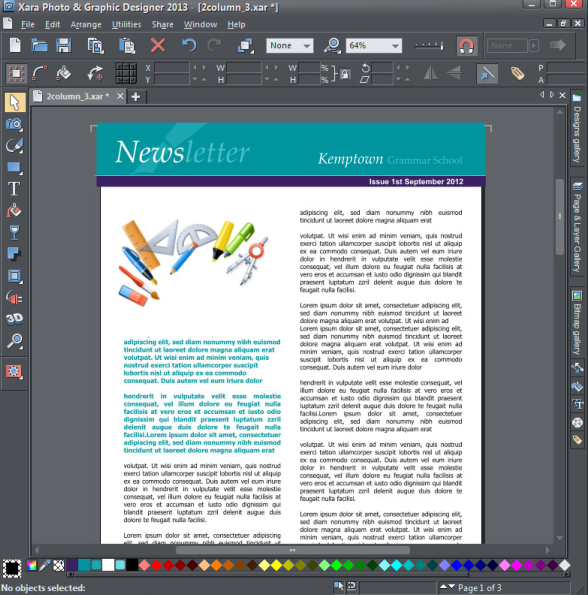
Now you can unleash your creative talents as we create a montage of objects. Drag one of the graphics (.xar file) that we supplied onto the page,
select it and then use the corner handles to reduce or enlarge it. Click again just inside the square corner handles and you can rotate the graphic.
Repeat this to add other objects. This is my montage.
A montage of graphics
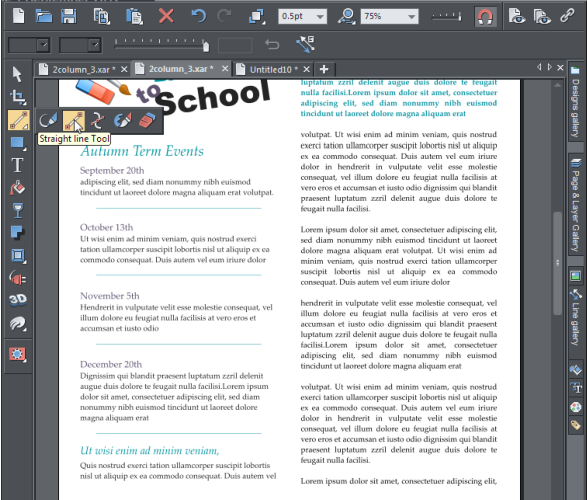
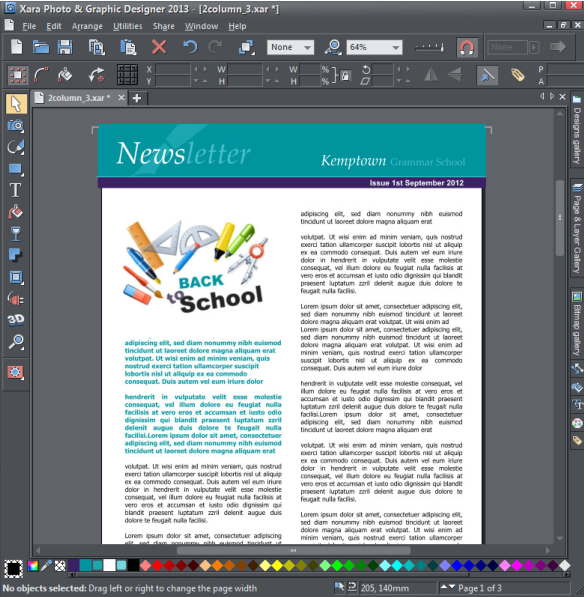
We will add some text to our graphic. Using the Text tool, type 'BACK' (I used the Arial Black font). Select it and click inside the corner handle to
rotate it slightly. Repeat this for the words 'to' and 'School' so they are three separate text objects of a different size and angle as shown below.
Position them as you like. It's best to have the small objects and the text as one graphic for ease of moving it around so we'll group them. With
the Selector tool selected click-drag from top left to bottom right around the objects you want to select (this is called lasso selection) ensuring
that you have sufficient margin to capture them all. Then press Ctrl G to group them. Now they can be selected and moved around the page as
one object.
Finished graphic
We will now work on the body text. Using the Text tool click on the text, then click Ctrl+A to select it all - change the font to be Palatino Linotype,
10pt. Add all your own text and change the colors as required for the headings, etc. I have added a heading for Autumn Term Events and some events.
Tip - You will see that we have used dummy 'pseudo Latin' text which you can generate by using Ctrl+Shft+L.
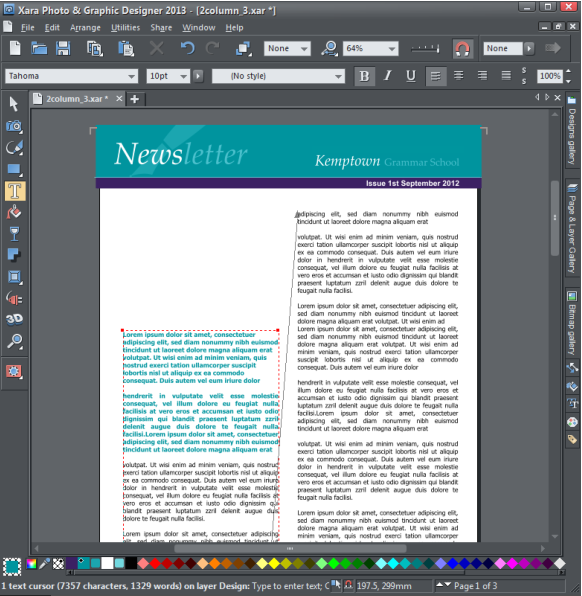
We will add some horizontal line dividers in the text as embedded graphics so that when the text moves as you add or delete some then the
dividers will stay in position relative to the text. It's easier to create the divider off the page and then copy it into position. Select the Straight
Line tool from the Drawing tools flyout menu (2nd on the flyout menu).
Drag out a horizontal straight line to be less than the width of the text columns. Tip: If you hold Ctrl while dragging you can constrain the angle to be
exactly horizontal. Now select the line and click on 'Theme Color 1' on the color line to change its color. With it still selected press Ctrl+C to copy it,
then with the Text tool selected, position your cursor in the desired position within the text, press Enter a few times to create 2 or three blank
lines, and use Ctrl+V to paste the graphic into the text. Now center it using the justification controls on the Text tool InfoBar. Repeat this (you
just need to paste it again and again) for all the places where you want a rule-off divider like this.
The last change to this page is to replace the page number graphic with a more interesting one from the Designs Gallery (Page Elements > Graphic
Elements > Graphics). Select and delete the default graphic and number in the template, then go to the Designs Gallery and just above the school
pencil graphics you will see one called 'Page'. Drag it onto our newsletter and select 'Match' to match our theme colors. Position it in the bottom right
then with the Text tool selected change the number to 1 in Palatino Linotype, 20pt, bold, italic.
Rule-off dividers and a cute page number graphic added
shows the text box area. Drag down the top right square to move the start of the text column down (note that the column is set to
automatically flow onto the next column so the text will adjust when you reduce or increase the size of the text box).
Now you can unleash your creative talents as we create a montage of objects. Drag one of the graphics (.xar file) that we supplied onto the page,
select it and then use the corner handles to reduce or enlarge it. Click again just inside the square corner handles and you can rotate the graphic.
Repeat this to add other objects. This is my montage.
A montage of graphics
We will add some text to our graphic. Using the Text tool, type 'BACK' (I used the Arial Black font). Select it and click inside the corner handle to
rotate it slightly. Repeat this for the words 'to' and 'School' so they are three separate text objects of a different size and angle as shown below.
Position them as you like. It's best to have the small objects and the text as one graphic for ease of moving it around so we'll group them. With
the Selector tool selected click-drag from top left to bottom right around the objects you want to select (this is called lasso selection) ensuring
that you have sufficient margin to capture them all. Then press Ctrl G to group them. Now they can be selected and moved around the page as
one object.
Finished graphic
We will now work on the body text. Using the Text tool click on the text, then click Ctrl+A to select it all - change the font to be Palatino Linotype,
10pt. Add all your own text and change the colors as required for the headings, etc. I have added a heading for Autumn Term Events and some events.
Tip - You will see that we have used dummy 'pseudo Latin' text which you can generate by using Ctrl+Shft+L.
We will add some horizontal line dividers in the text as embedded graphics so that when the text moves as you add or delete some then the
dividers will stay in position relative to the text. It's easier to create the divider off the page and then copy it into position. Select the Straight
Line tool from the Drawing tools flyout menu (2nd on the flyout menu).
Drag out a horizontal straight line to be less than the width of the text columns. Tip: If you hold Ctrl while dragging you can constrain the angle to be
exactly horizontal. Now select the line and click on 'Theme Color 1' on the color line to change its color. With it still selected press Ctrl+C to copy it,
then with the Text tool selected, position your cursor in the desired position within the text, press Enter a few times to create 2 or three blank
lines, and use Ctrl+V to paste the graphic into the text. Now center it using the justification controls on the Text tool InfoBar. Repeat this (you
just need to paste it again and again) for all the places where you want a rule-off divider like this.
The last change to this page is to replace the page number graphic with a more interesting one from the Designs Gallery (Page Elements > Graphic
Elements > Graphics). Select and delete the default graphic and number in the template, then go to the Designs Gallery and just above the school
pencil graphics you will see one called 'Page'. Drag it onto our newsletter and select 'Match' to match our theme colors. Position it in the bottom right
then with the Text tool selected change the number to 1 in Palatino Linotype, 20pt, bold, italic.
Rule-off dividers and a cute page number graphic added