


© Xara Group Limited

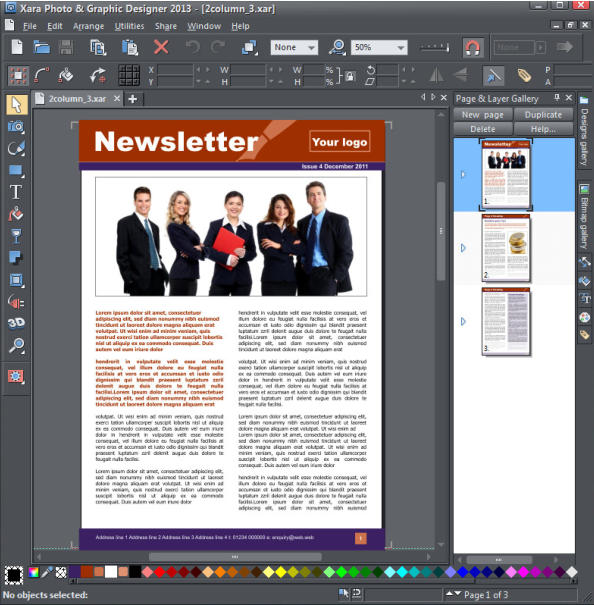
Firstly, unzip the components into a folder on your computer and you will see that we have provided you with a master template and some graphics. Double click on the '2 column 3.xar' file and it will open the newsletter template in Xara Photo & Graphic Designer. This gives us the basic framework
for a 3 page newsletter which we can customize (if you buy Xara Photo and Graphic Designer, it will include many templates, graphics and clip art).
Notice that the 'magnetic snap' on the top toolbar has been engaged which can be very useful in helping to accurately align the text, graphics
and photos. Click on it, if you wish to turn it off.
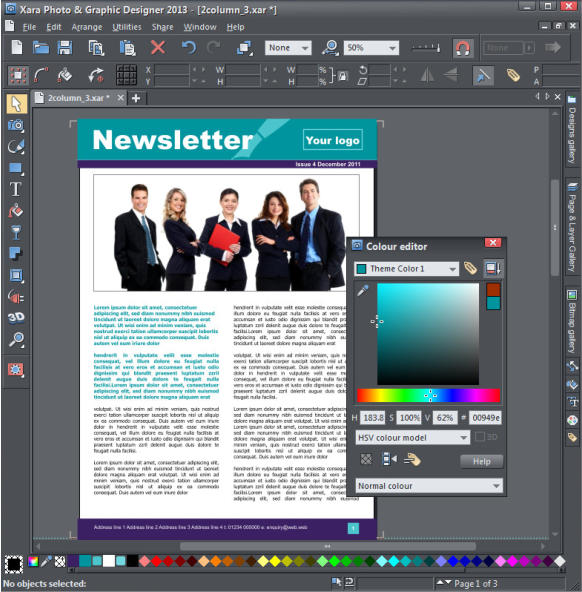
Firstly, we shall change the theme color. Hover over the color squares on the left of the color line at the bottom of the document and you will see all
the named theme colors - 'Theme colors 1 and 2', and a couple of linked colors (which means they are linked to another color). You can drag the squares
to move them into a more suitable alpha numeric order, if you wish. Right click with your mouse on 'Theme color 1' then select 'Edit Theme Color 1'
which will open the color editor. To edit the color, drag on the lower section to change the hue and drag on the top section to change the lightness of
that selected color. Click the icon top right to show the numeric values of the colors. As you change the color you will see that the other linked colors
change automatically to be shades of the master Theme Color 1. I changed the color to be a medium cyan.
The color editor and color line
Now we will customize the heading. An important tool is the Selector tool, which is at the top of the left-hand tool bar (it will have a beige
background when in use). Select the Selector tool, then click on the pale pen graphic in the heading, then move it to the left by dragging it or
using the keyboard cursor arrow keys. Since we don’t want a logo, select the text 'Your logo' and use your keyboard delete key to delete it and
also delete the rectangular frame.
New select the Text tool on the left hand tool bar. Highlight the word 'Newsletter' and change the font type to be Palatino Linotype, 48pt, italic.
Highlight only the 'letter' and click on the 'Link color 1a' on the color line to set this part of the text to be a pale shade.
We will now add some new text in the same font but change the size to be 24pt. Place the text cursor in an empty area of the top header and type
'Kemptown Grammar School' - don't worry about the accuracy of its position at this point in time. Select only the word 'Kemptown' and click on the
white color on the color line. Now select only the Grammar School and select 16pt and not italic. Go back to the Selector tool, select the new
'Kemptown Grammar School' text and move it into position.
Finally we'll make the dark blue sub header bar slighter taller, so select it and then drag down on the lower center handle point. With the Text
tool selected change the text to read ‘Issue 1 September, 2012’ and center it on the sub header. That's it - the heading is finished and it should
look like this.
The finished heading
Double click on the '2 column 3.xar' file and it will open the newsletter template in Xara Photo & Graphic Designer. This gives us the basic framework
for a 3 page newsletter which we can customize (if you buy Xara Photo and Graphic Designer, it will include many templates, graphics and clip art).
Notice that the 'magnetic snap' on the top toolbar has been engaged which can be very useful in helping to accurately align the text, graphics
and photos. Click on it, if you wish to turn it off.
Firstly, we shall change the theme color. Hover over the color squares on the left of the color line at the bottom of the document and you will see all
the named theme colors - 'Theme colors 1 and 2', and a couple of linked colors (which means they are linked to another color). You can drag the squares
to move them into a more suitable alpha numeric order, if you wish. Right click with your mouse on 'Theme color 1' then select 'Edit Theme Color 1'
which will open the color editor. To edit the color, drag on the lower section to change the hue and drag on the top section to change the lightness of
that selected color. Click the icon top right to show the numeric values of the colors. As you change the color you will see that the other linked colors
change automatically to be shades of the master Theme Color 1. I changed the color to be a medium cyan.
The color editor and color line
Now we will customize the heading. An important tool is the Selector tool, which is at the top of the left-hand tool bar (it will have a beige
background when in use). Select the Selector tool, then click on the pale pen graphic in the heading, then move it to the left by dragging it or
using the keyboard cursor arrow keys. Since we don’t want a logo, select the text 'Your logo' and use your keyboard delete key to delete it and
also delete the rectangular frame.
New select the Text tool on the left hand tool bar. Highlight the word 'Newsletter' and change the font type to be Palatino Linotype, 48pt, italic.
Highlight only the 'letter' and click on the 'Link color 1a' on the color line to set this part of the text to be a pale shade.
We will now add some new text in the same font but change the size to be 24pt. Place the text cursor in an empty area of the top header and type
'Kemptown Grammar School' - don't worry about the accuracy of its position at this point in time. Select only the word 'Kemptown' and click on the
white color on the color line. Now select only the Grammar School and select 16pt and not italic. Go back to the Selector tool, select the new
'Kemptown Grammar School' text and move it into position.
Finally we'll make the dark blue sub header bar slighter taller, so select it and then drag down on the lower center handle point. With the Text
tool selected change the text to read ‘Issue 1 September, 2012’ and center it on the sub header. That's it - the heading is finished and it should
look like this.
The finished heading