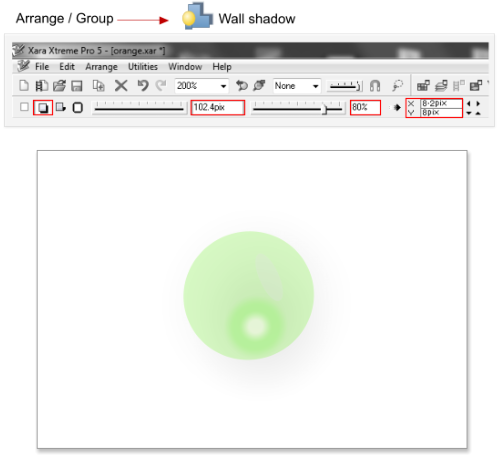
 Step 37: Select all the circles created in the step 34, and make a new group using the shortcut Ctrl+G, and then add a wall shadow with these values:
Blur = 102.4 pix, transparency = 80%, position = X:8.2 pixels & Y:8 pixels.
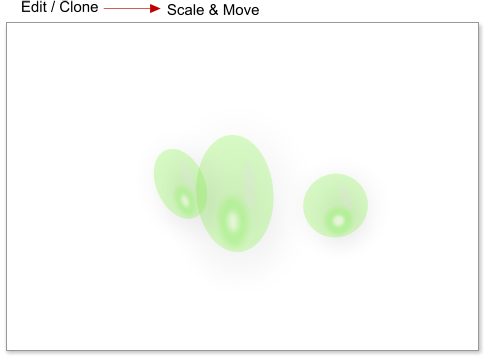
Step 38: Clone the grouped circles using the shortcut Ctrl+K, and scale the cloned groups. You can make more variations if you want - these are just the
drops of water.
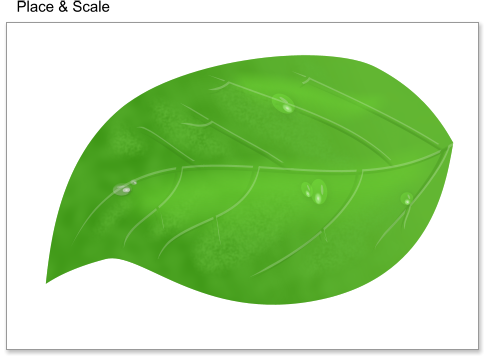
Step 39: Place and scale the drops over the leave. Add as many drops as you want.
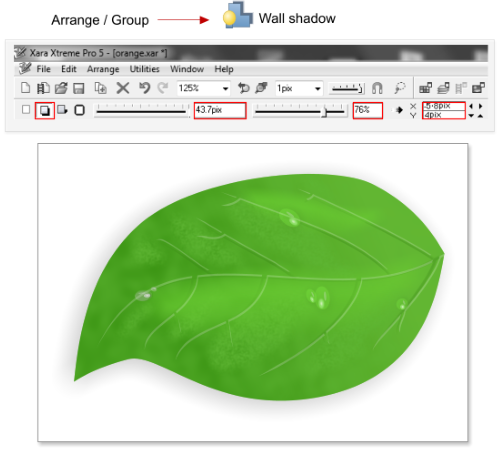
Step 40: Select the leaf and the drops, make a new group using the shortcuts Ctrl+G, then add a wall shadow with the next values: Blur = 43.7 pix,
transparency = 76%, position = X:-5.8pixels & Y:4 pixels.
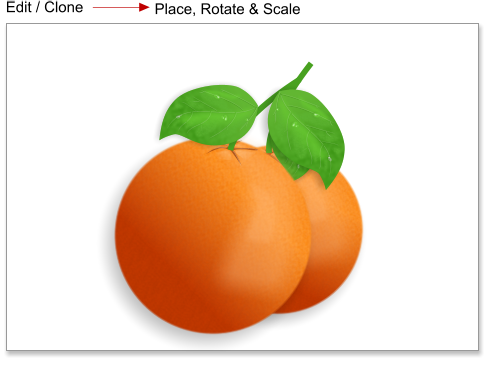
Step 41: Clone the leaf with the drops twice, and then scale and place the cloned leaves over the oranges as shown below.
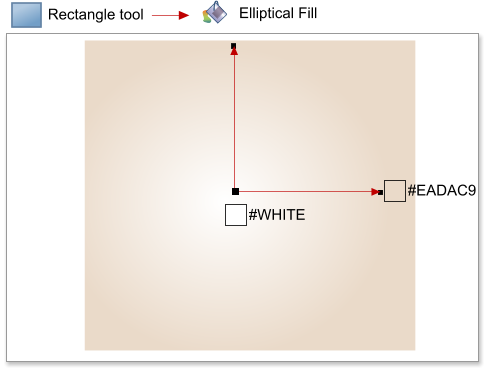
Step 42: Finally I’m going to add a background. Using the Rectangle tool, create a new rectangle, and then add an elliptical fill from white to #EADAC9.
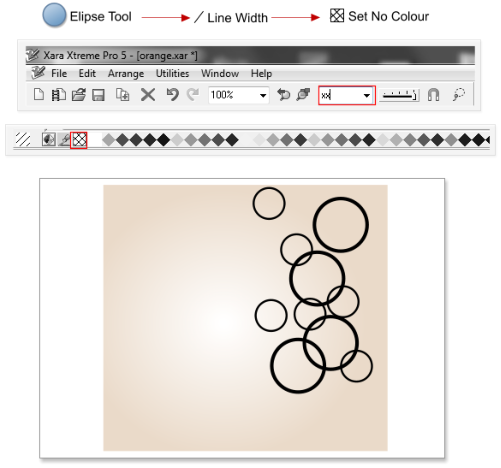
Step 43: Using the Ellipse tool, create new circles, change the fill color to 0 and the line width to the desired value. If you want you can add other
shapes like squares, a logo etc.
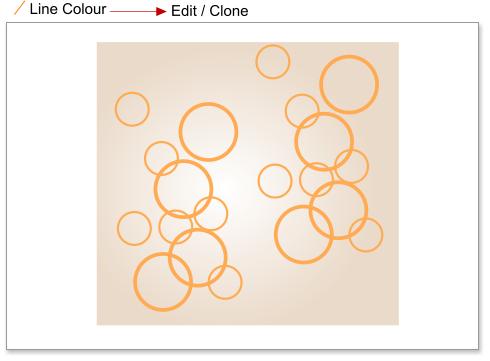
Step 44: Add more circles or clone the circles and change the line color to # FFAB54. Select the rectangle and the elements for the background and
choose Arrange > Put to Back or use the shortcut Ctrl+B.
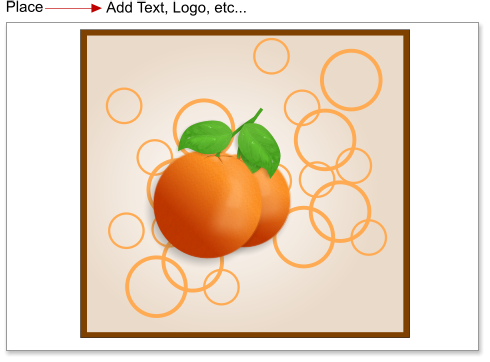
Step 45: Place the oranges over the background and add more elements to the image if you wish, for example I’ve added a frame, you could add a logo
or some text.
Conclusion
Note how I’ve used the fractal plasma transparency to create the texture, and the feathering + transparency for the highlights. You can create complex
illustrations in Xara without the need to use bitmaps!
This tutorial was created by José Campoy of Blueberry Design.
Step 37: Select all the circles created in the step 34, and make a new group using the shortcut Ctrl+G, and then add a wall shadow with these values:
Blur = 102.4 pix, transparency = 80%, position = X:8.2 pixels & Y:8 pixels.
Step 38: Clone the grouped circles using the shortcut Ctrl+K, and scale the cloned groups. You can make more variations if you want - these are just the
drops of water.
Step 39: Place and scale the drops over the leave. Add as many drops as you want.
Step 40: Select the leaf and the drops, make a new group using the shortcuts Ctrl+G, then add a wall shadow with the next values: Blur = 43.7 pix,
transparency = 76%, position = X:-5.8pixels & Y:4 pixels.
Step 41: Clone the leaf with the drops twice, and then scale and place the cloned leaves over the oranges as shown below.
Step 42: Finally I’m going to add a background. Using the Rectangle tool, create a new rectangle, and then add an elliptical fill from white to #EADAC9.
Step 43: Using the Ellipse tool, create new circles, change the fill color to 0 and the line width to the desired value. If you want you can add other
shapes like squares, a logo etc.
Step 44: Add more circles or clone the circles and change the line color to # FFAB54. Select the rectangle and the elements for the background and
choose Arrange > Put to Back or use the shortcut Ctrl+B.
Step 45: Place the oranges over the background and add more elements to the image if you wish, for example I’ve added a frame, you could add a logo
or some text.
Conclusion
Note how I’ve used the fractal plasma transparency to create the texture, and the feathering + transparency for the highlights. You can create complex
illustrations in Xara without the need to use bitmaps!
This tutorial was created by José Campoy of Blueberry Design.

 © José Campoy