thinking outside the box
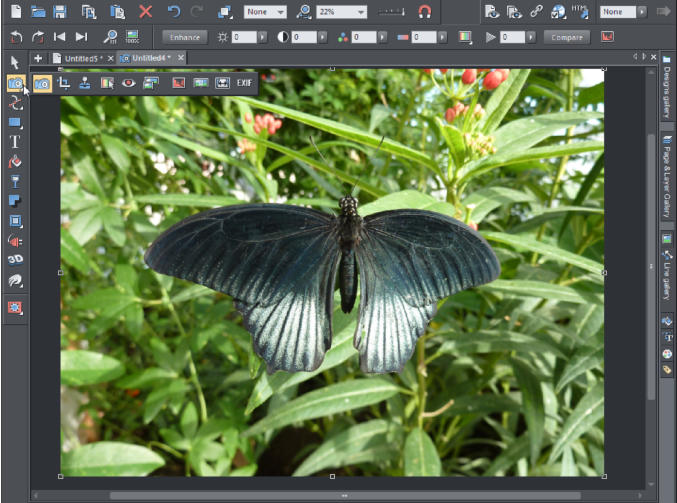
Photo Editing Basics, Part 2 – Creating the Perfect Photo


XARA TUTORIAL
Very often our photos are just not quite as perfect as we would like them to be. Maybe too dark, too much background, a telegraph pole in view, the
horizon is crooked and many other imperfections. Or it may be that you would like to make changes to your photo, for example to color those flowers
orange instead of yellow.
Xara Photo & Graphic Designer and Designer Pro include very fast photo editing tools that offer all the common photo editing features that you would
expect, but also many sophisticated and powerful photo features that you might not be familiar with. For example 'Magic' Photo Erase makes it easy to
seamlessly remove unwanted objects from your photo, Content Aware Scaling & Zooming allows images to be stretched or squashed while retaining the
proportions of important parts of the picture, and the Color Select & Erase tool allows you to re-color selected areas of your photo or remove colored
backgrounds.
In this tutorial we’re going to introduce you to all the photo tools in Photo & Graphic Designer 2013 and Designer Pro X. If you don’t already own a copy
you can simply download a free, fully working trial version and try it!
Before you start you might want to refer to Part 1 of the tutorial, which is an intro to photo terminology and concepts: Photo Editing Basics Part 1.

© Xara Group Limited