


 4) Edit the text on your website
Click the Text tool and then click on any text and start editing. When using the Text tool, the InfoBar across the top allows you to change font,
size, etc. The ABC icon at the end is a spell checker control. Text editing is like any word processor, for example you simply drag to select text.
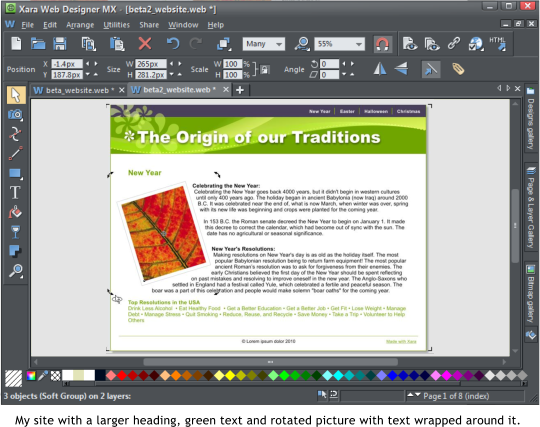
I will change the headings and cut and paste some new text onto the page. Notice how the text automatically wraps around the picture.
To change the color of your text select it (with the Text tool) and then drag a color from the color line at the bottom of the screen onto the text.
5) Re-arrange your objects
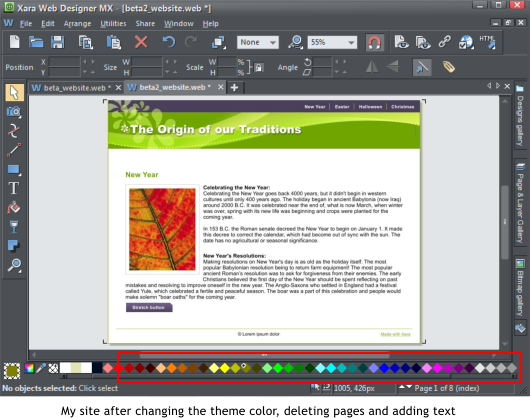
One of the great features of Web Designer is that I have complete freedom to place anything anywhere on the page, so now I'll move and resize
some objects. Choose the Selector tool and try dragging on the headings or the Navigation bar. Notice how the Navigation bar changes on your
other web pages to reflect the new position because it is a ‘repeating object’. And remember, what you see in Web Designer is exactly what you
will get on your web page. I want to add some more text so I'll delete the button graphic in the bottom left and move the text up. I can drag it, or
nudge it for tiny movements in any direction using the keyboard arrow keys.
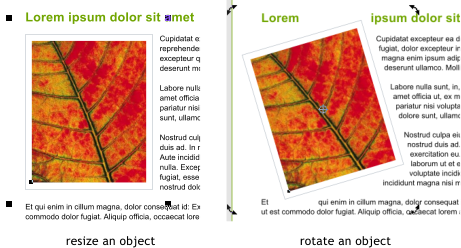
To resize an object drag on one of the corner handles shown around the selected object. To rotate an object click on it again so you get rotate handles
in the corners then drag on these to rotate it. Try resizing the heading and rotating the photo. See how the text flows around it. That is because the
photo object has been set to repel text. To delete any object, select it and press the delete key. To add objects simply drag them onto the page.
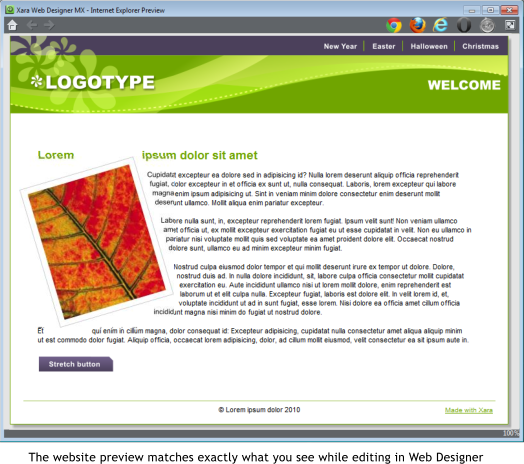
6. Preview your website
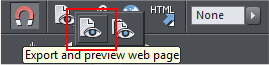
It's useful to preview your website periodically and I always preview it before saving the final version. Select the preview icon on the top bar or File >
Preview website or Preview web page to preview the current page or site.
4) Edit the text on your website
Click the Text tool and then click on any text and start editing. When using the Text tool, the InfoBar across the top allows you to change font,
size, etc. The ABC icon at the end is a spell checker control. Text editing is like any word processor, for example you simply drag to select text.
I will change the headings and cut and paste some new text onto the page. Notice how the text automatically wraps around the picture.
To change the color of your text select it (with the Text tool) and then drag a color from the color line at the bottom of the screen onto the text.
5) Re-arrange your objects
One of the great features of Web Designer is that I have complete freedom to place anything anywhere on the page, so now I'll move and resize
some objects. Choose the Selector tool and try dragging on the headings or the Navigation bar. Notice how the Navigation bar changes on your
other web pages to reflect the new position because it is a ‘repeating object’. And remember, what you see in Web Designer is exactly what you
will get on your web page. I want to add some more text so I'll delete the button graphic in the bottom left and move the text up. I can drag it, or
nudge it for tiny movements in any direction using the keyboard arrow keys.
To resize an object drag on one of the corner handles shown around the selected object. To rotate an object click on it again so you get rotate handles
in the corners then drag on these to rotate it. Try resizing the heading and rotating the photo. See how the text flows around it. That is because the
photo object has been set to repel text. To delete any object, select it and press the delete key. To add objects simply drag them onto the page.
6. Preview your website
It's useful to preview your website periodically and I always preview it before saving the final version. Select the preview icon on the top bar or File >
Preview website or Preview web page to preview the current page or site.

 © Xara Group Limited