


© Xara Group Limited

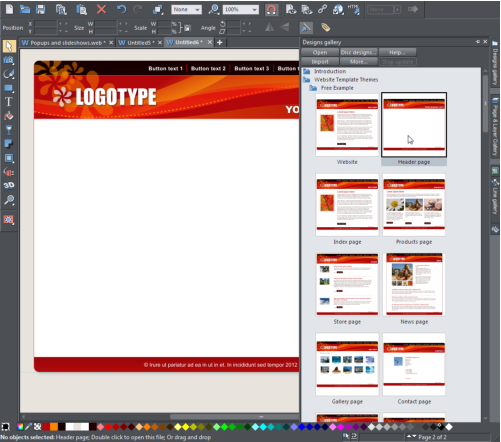
Open the program and select the Designs Gallery on the right-hand side. Select Website Template Themes and choose your template design - I chose
'Free Example'. Click the folder to view all the different layouts in that template set. Double click on the 'Header page' layout to select it.
Firstly, change the headings to personalize your web page - select the Text tool on the left hand toolbar then delete the default text and simply
type your own text in its place. Return to the Selector tool (the arrow icon at the top of the toolbar).
Now add a few photos by dragging them onto the page from your file explorer (or use the File -> Import menu as an alternative). Resize them by
dragging on the corner handles of the photo. Position them on the page - I have overlaid my photos for a better effect. The photos will be 'layered' in
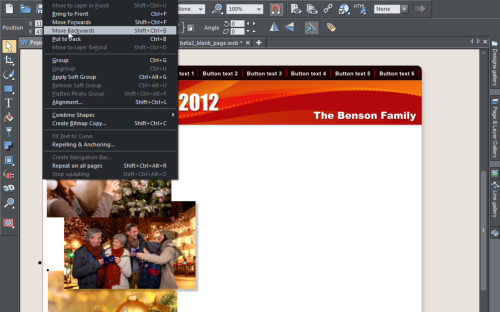
the order that you dragged them onto the page so if you need to bring one to the foreground or move it back, then select the photo, select Arrange and
choose Bring to front, Move Forwards, Move Backwards or Put to back.
Now we will add some text to the page and wrap it around the photos. Firstly, we need to set the photos so that they repel the text. With the
Selector tool selected click-drag from top left to bottom right around the images you want to select (this is called marquee selection) ensuring
that you have sufficient margin to capture them all. Right click on one of the photos and select Repelling and Anchoring then check 'Repel text
around this graphic’ and set the margin to be 6px, which will provide a space between the photos and the text.
To add some text, select the Text tool and create a text box area by using your mouse to drag the boundary from the top left of the column,
across the width of the column and then down to just above the footer graphic. You can either type your text on the page or cut and paste it
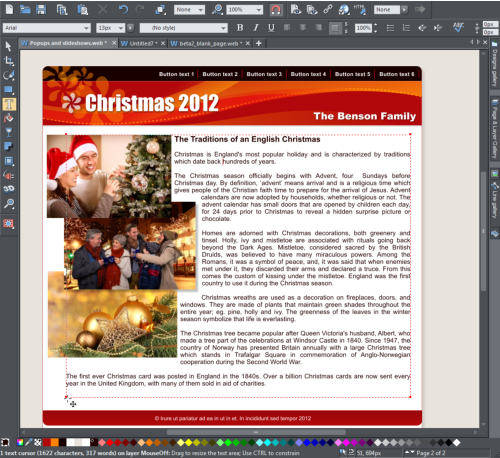
from elsewhere and then format it within Web Designer. My text is Arial 13px with a bold heading of 16px.
Use the Selector tool to select the text, then select Arrange and Put to Back (Ctrl+B) - you will see the text automatically wrap around all of the
photos. If necessary, you can adjust the width of your text area using the Text tool and dragging one of the corner squares of the text box area.
Pop-Ups and Slideshows
You can configure all the pop-up information from the Image tab of the Web Properties dialog, so click-drag to select all the images (marquee
selection), then right click to select Web Properties and go to the Image tab.
Click the Pop-up Photo checkbox to activate it and set the width of the pop-up. I have set it to 600 pix.
Select Options, to create a slideshow that displays a series of images and to control what it looks like. I selected to dim the page whilst the pop-up is
open, to show a shadow behind the pop-up and to display the image title. I also selected to show the gallery browser controls to enable website visitors
to scroll through the slideshow images using the back and forward arrows. I also want them to be able to go straight to an image they like the look of
using a thumbnail strip at the bottom of the slideshow, and I want the slideshow to start straight away when a pop-up opens so that it automatically
moves from one image to the other, rather than waiting for the viewer to click the forward or back arrow. As you save these settings they are applied to
all the images on the web page.
Now enter the Pop-up Title and Caption for each of the photos. Select Web Properties -> Image and type in your pop-up title, which will appear in bold
letters above your pop-up image, and your caption which will display underneath the pop-up image.
Click the Preview current web page icon and then click on an image to see the pop-ups and slideshow over the dimmed web page. The slideshow will
start automatically, and when you hover the mouse pointer over the pop-up, you will see the video control bar that enables you to go to the next or
previous image, pause or start the show again.
In the thumbnail strip in the lower half of the page you can click on an image to go directly to it, without closing the pop-up window.


The Arrange options


