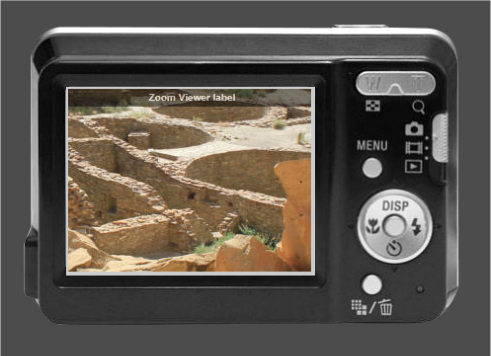


 Under the category of what would happen if... I loaded the camera photo from the Photo Clip Art folder, and then
added a Cloud Viewer Widget on top (Arrange > Move to Layer Ahead and Arrange > Bring to Front) and
previewed the page (F5 remember), and guess what? It works!
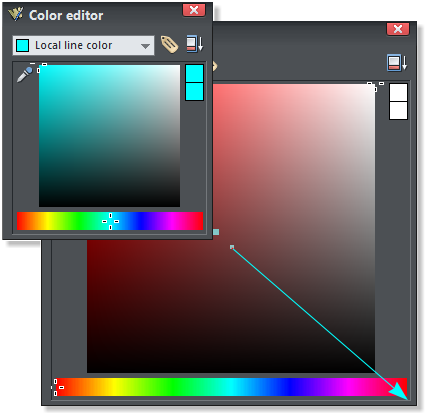
The Color Editor is now expandable. The big advantage to this is you can see and select more colors in HSV view.
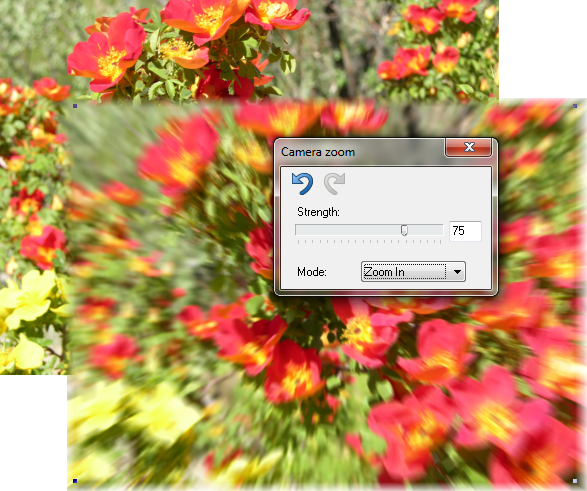
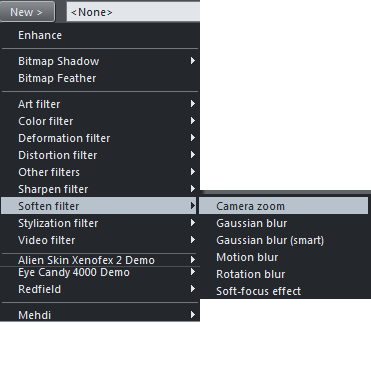
NEW The Live Effects Tool has been an invaluable feature in Designer Pro and Photo and Graphics Designer but
not included with Web Designer. It is now added and it provides the ability to edit your photos using Photoshop
Compatible filters. (40 excellent filters are included). The new server driven technology also adds new templates
and widgets from time to time and makes repairs to widgets that may need to be fixed or updated. The Live Effects
Tool rocks!
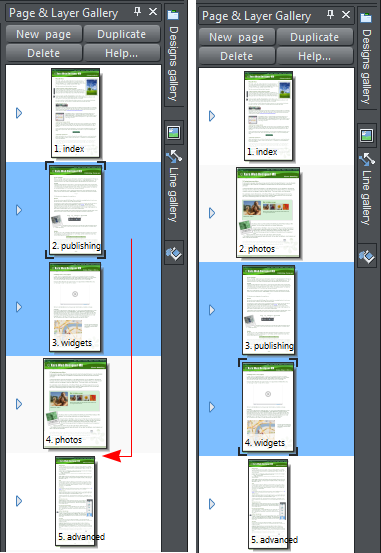
The Easier to Edit Page and Layer Gallery
The Page and Layer Gallery is the organization center for your website. And new Web Designer MX Premium now
makes it easier to manage your pages and layers. You can select multiple pages (Shift or Ctrl select), and drag and
drop them to a new position. You can cut, copy or paste a page or pages. Plus you can copy an entire page and paste
the page into a new document. You can assign a Page Transition to a selection of pages in one simple operation. you
can even select objects on one layer and drag them to another layer.
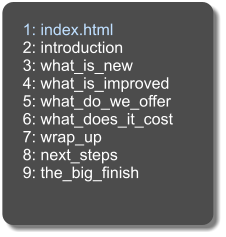
Now Presenting
Power Point style Presentations introduced in Web Designer 7 have become easier to manage.
A helpful new pop up menu appears when the cursor rests over the bottom left corner of a slide that lets you or your
visitors instantly access any other slide in the presentation. And there are forward, backwards, and home navigation
buttons that make it easy to jump to a specific page if needed.
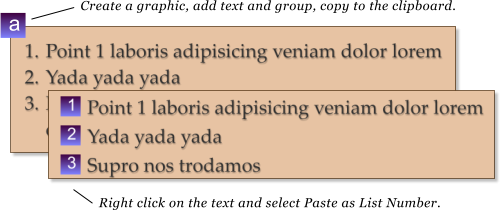
Custom Number List Graphics
Now, you can create your own numbered list graphics. Create a shape, add text (any
character, it doesn’t matter), group the text and the shape and copy or cut it to the
clipboard. And, using this new feature, you can also create custom bullet lists.
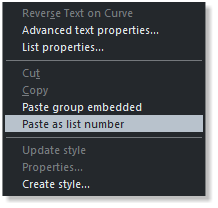
Switch to the Text Tool and right click on the text
portion and select Paste as List Number from the pop
up menu. All existing numbered list text lines will be
instantly changed adding your custom graphic. The
numbers will automatically be changed on the graphic.
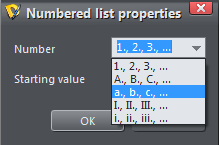
If you have sub list items, you can create a separate
graphic or use the existing graphic but change the
Numbered List Properties.
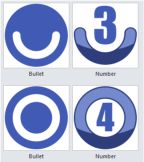
If you are graphically challenged, not to worry, there is a whole section of
really awesome bullets and numbers that you can use. When you import
any of these into your document you also have the option of using your
current template color scheme. So if the colors in your template are
primarily green, the numbers and bullets automatically change to green.
How cool is that?
Improved iOS compatibility
Someone visiting your site via a IOS device previously had to tap twice on a navigation buttons that had a mouse over
effect to follow the button link. The first tap showed the mouse over button and the second tap executed the link.
This has been addressed and now only one tap is necessary.
Under the category of what would happen if... I loaded the camera photo from the Photo Clip Art folder, and then
added a Cloud Viewer Widget on top (Arrange > Move to Layer Ahead and Arrange > Bring to Front) and
previewed the page (F5 remember), and guess what? It works!
The Color Editor is now expandable. The big advantage to this is you can see and select more colors in HSV view.
NEW The Live Effects Tool has been an invaluable feature in Designer Pro and Photo and Graphics Designer but
not included with Web Designer. It is now added and it provides the ability to edit your photos using Photoshop
Compatible filters. (40 excellent filters are included). The new server driven technology also adds new templates
and widgets from time to time and makes repairs to widgets that may need to be fixed or updated. The Live Effects
Tool rocks!
The Easier to Edit Page and Layer Gallery
The Page and Layer Gallery is the organization center for your website. And new Web Designer MX Premium now
makes it easier to manage your pages and layers. You can select multiple pages (Shift or Ctrl select), and drag and
drop them to a new position. You can cut, copy or paste a page or pages. Plus you can copy an entire page and paste
the page into a new document. You can assign a Page Transition to a selection of pages in one simple operation. you
can even select objects on one layer and drag them to another layer.
Now Presenting
Power Point style Presentations introduced in Web Designer 7 have become easier to manage.
A helpful new pop up menu appears when the cursor rests over the bottom left corner of a slide that lets you or your
visitors instantly access any other slide in the presentation. And there are forward, backwards, and home navigation
buttons that make it easy to jump to a specific page if needed.
Custom Number List Graphics
Now, you can create your own numbered list graphics. Create a shape, add text (any
character, it doesn’t matter), group the text and the shape and copy or cut it to the
clipboard. And, using this new feature, you can also create custom bullet lists.
Switch to the Text Tool and right click on the text
portion and select Paste as List Number from the pop
up menu. All existing numbered list text lines will be
instantly changed adding your custom graphic. The
numbers will automatically be changed on the graphic.
If you have sub list items, you can create a separate
graphic or use the existing graphic but change the
Numbered List Properties.
If you are graphically challenged, not to worry, there is a whole section of
really awesome bullets and numbers that you can use. When you import
any of these into your document you also have the option of using your
current template color scheme. So if the colors in your template are
primarily green, the numbers and bullets automatically change to green.
How cool is that?
Improved iOS compatibility
Someone visiting your site via a IOS device previously had to tap twice on a navigation buttons that had a mouse over
effect to follow the button link. The first tap showed the mouse over button and the second tap executed the link.
This has been addressed and now only one tap is necessary.

 © Gary Priester