thinking outside the box
Creative Photo Displays with Pop-Ups for your Website


XARA TUTORIAL
Text here...


1. Select a web page design and color
Move your mouse over the ‘Designs Gallery’ label on the right side of the window and click on the Website Themes to see those available. Click on the
‘Free Example’ folder to see the available template layouts in that theme. Double click on the third template labelled ‘Index Page’, which will open
two versions of the web page – this is a responsive web template which means that you can create a Main page to be viewed on a computer and also
create a page optimized for viewing on a mobile device.
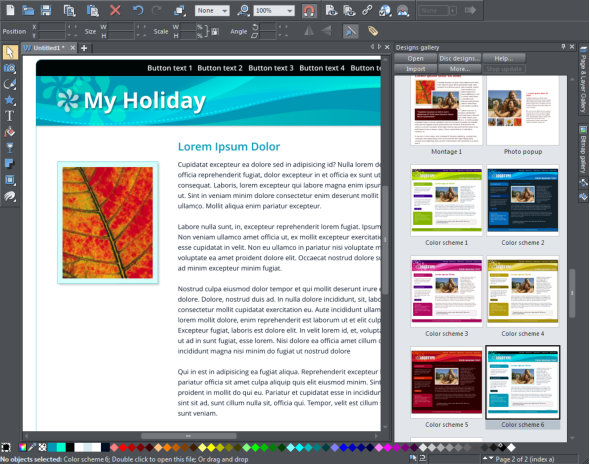
To make color editing easy, Xara provide some ready-made color schemes that you can drag ‘n’ drop onto the page with every theme set. In the Designs
Gallery, scroll down to the bottom of this theme set to see the Color Scheme thumbnails. Drag one onto the page and you will see all your web page
colors change in an instant. (You can also choose your own theme colors using the color bar at the bottom of the screen).
Drag a new color scheme onto the page to change it
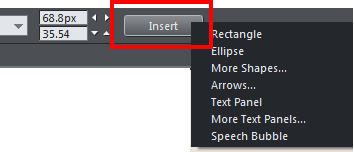
2. Re-arrange the objects on the web page
One of the features of Web Designer is that you have complete freedom to place anything anywhere on the page so I’ll replace, move, resize and rotate
the photo and widen the text column.
To replace the photo, simply drop a new photo from your Windows File Explorer on top of the existing photo. Notice that the Fill Tool has automatically
been selected and you will see a vertical and horizontal arrow over the photo. You can drag on either of the arrow heads to stretch or change the angle
of the photo within the frame.
Click on the photo and drag it to move it. If you move the photo onto the text you will see that the text will wrap around the image. This is because the
image has been set to ‘repel text under’. As you move the image around the page, it repels the text. (You can set the repelling margin by right clicking
on the object and selecting ‘Repelling and Anchoring’).
Web Designer includes some powerful photo editing tools. You can adjust the brightness, color, sharpness, and more, as well as crop any picture. Select
the Camera tool from the left tool bar. Now click on any photo and, using the controls at the top, adjust the various settings such as brightness, color,
etc. The last slider control alters the blur or sharpness.
To resize the photo drag on one of the corner handles and to rotate it click on it again, so you get rotate handles in the corners. Then drag on these to
rotate it.
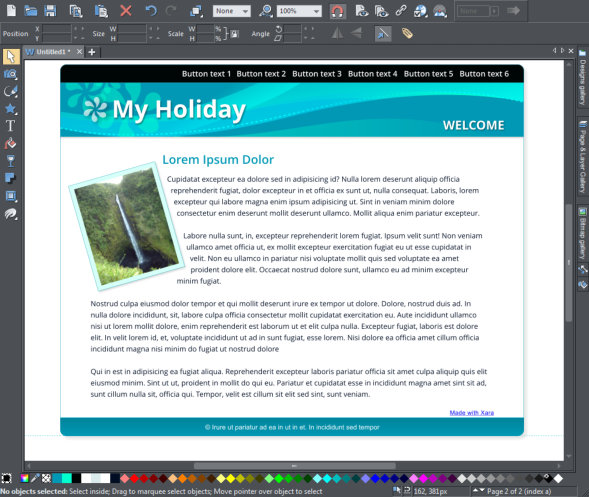
To change the column width of the text, select the Text Tool, click on the text to select it and then stretch or shorten the red line at the top to define
the width of the column.
Increased text column width with smaller photo placed at an angle
3. Creating a photo montage
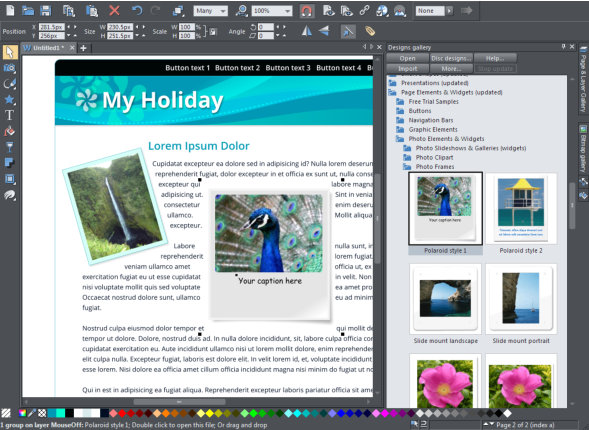
To add a framed photo to the web page, go to the Designs Gallery and click on the folder - Page Elements & Widgets - to open it, then open Photo
Elements & Widgets, then Photo Frames. Drag ‘Poloroid Style 1’ onto the web page. Notice that it has already been set to ‘repel text under’ so the text
is repelling around it. Drag one of your photos on top of the current photo to replace it.
Drag a photo frame object onto the page
Now select the Text Tool and click on the text in the photo frame to change that text. The Text Tool offers all the usual word processing facilities
including paste text from the system clipboard and a spell checker. For more information on changing your fonts - see the tutorial Using Fonts on your
Website
Return to the Selector Tool and select the photo frame then drag it into position, click again to get the rotate handles to rotate it to the desired angle.
Repeat this process for additional photo frames. I added a further 2 to create my montage of 3 photos.
The photo frames are placed on the page in the order that you have added them, so you may need to re-arrange that order. On my page, I wanted the
first photo frame to overlap the second one so that I could see the text on both. To do this, select the photo frame you wish to re-order and then select
Arrange > Move Forward. You can also Move Backwards, Bring to Front or Put to Back. If you select Put to Back bear in mind that the photo frame will
move behind all objects on the page so it will move behind the text and the text will no longer flow around it.
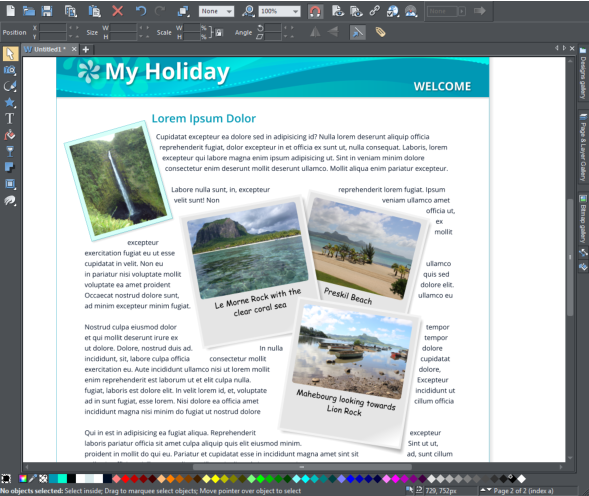
A montage of three photos