thinking outside the box
Creating a Multi-Page Brochure for Print and the Web


XARA TUTORIAL

© Xara Group Limited

Creating a multi-page brochure
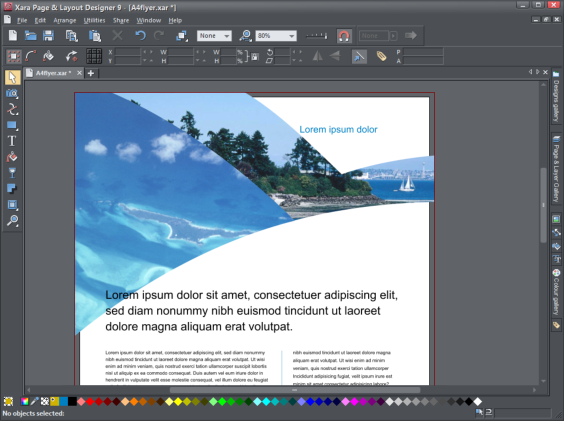
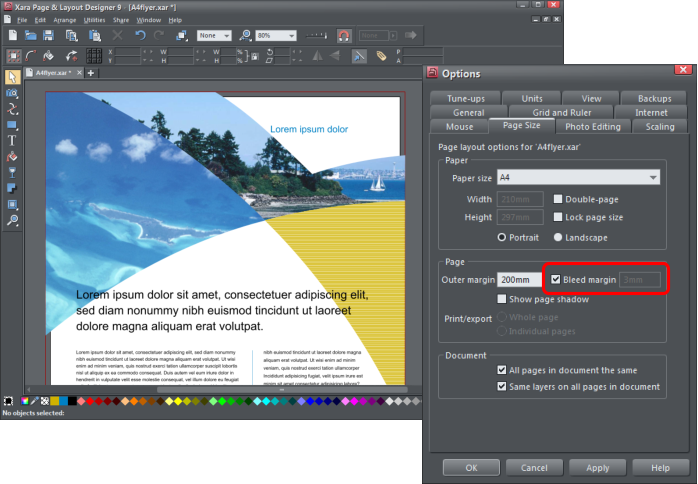
Open Xara Page & Layout Designer and then double click on the 'A4flyer.xar' which is one of the files that you have just unzipped. Notice that some of
the images go off the page – this is called ‘bleed’ and is required for commercial printing. The red line, which is the bleed margin, can be turned off by
selecting ‘File’ then ‘Page Options’ and unchecking the ‘Bleed margin’ box.
I’m going to produce a double sided flyer for a Fruit Farmer, so I’ll start by modifying and customizing the top imagery. Firstly, note an important
tool - the Selector - which is at the top of the left-hand tool bar (it will have a beige background when in use). Select the right hand mustard
colored shape and delete the overlay by pressing the ‘delete’ key, then select the shape again and delete the solid shape.
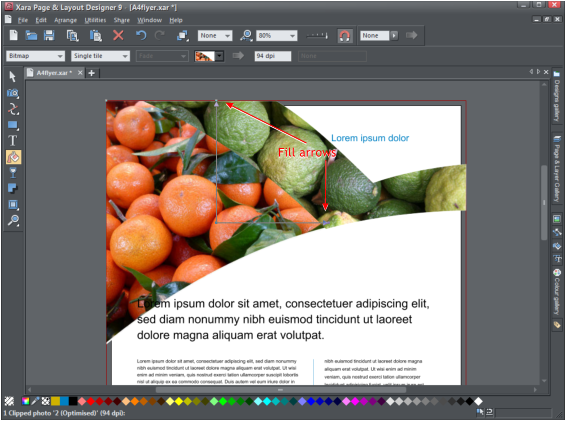
To replace the photo drag one from your Windows File Explorer and drop it on top of the photo you want to replace. Now do that again for the second
image. You can drag on the photo to move it or click-drag on the fill arrows to stretch or reduce your image or to change its angle.
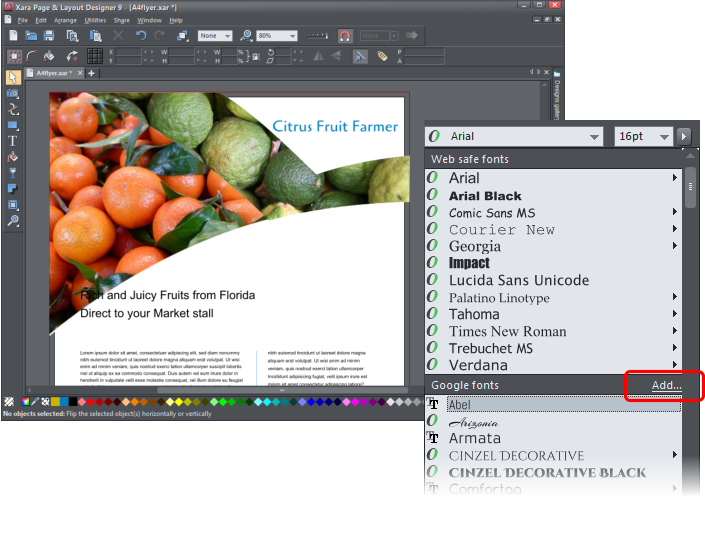
Now select the Text tool on the left hand tool bar, highlight the heading and then type in your own text to replace the default text. Try
changing the font style and size. In the drop down menu of the font styles you will notice a Google fonts section – click on the ‘Add’ link to
display the Google font picker with a choice of over 600 fonts that you can download and embed into your documents (you need to be
connected to the Internet). Even if you output this flyer as a web document, your readers will see the correct font, even if they do not have it installed
on their computer. (I suggest that you only download the ones you want to use and not all of them!)
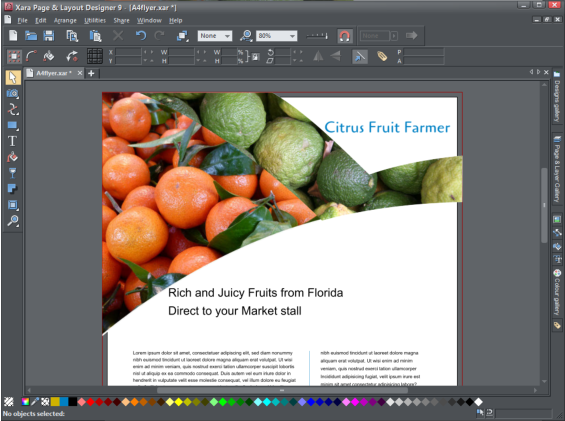
With the Text tool still selected we’ll change the introductory sentence. The text currently overlays the image, you can movie it off the image with the
Selector tool or just use the keyboard cursor arrows to move the object to the right or left, and drag on a corner handle to reduce its size .