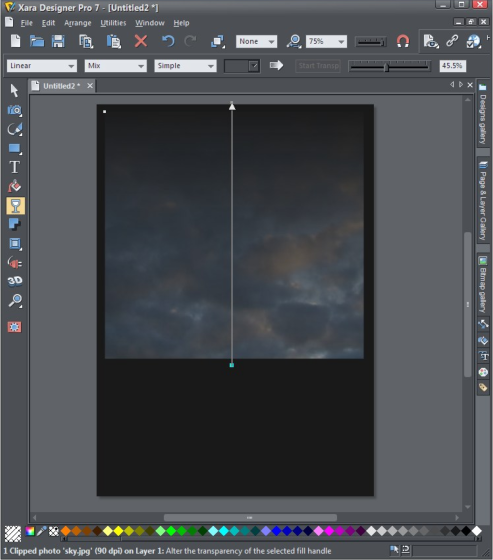
 Now select the start of the transparency arrow (the bottom blob) and adjust the transparency slider in the top right
to be about 25%, which means that it will be 25% at the bottom and 100% transparent at the top so that the black of
the page shows through. Exit the Transparency tool and return to the top Selector tool.
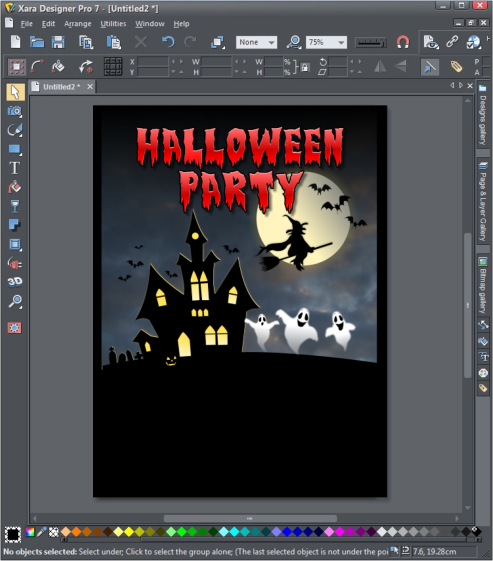
Now for the spooky fun! First drag in the SpookyHouse and align it at the bottom of the cloud image. Now drag in the Witch to the right of the house.
Now drag in the Halloween1 and Party1headings. I then reduced the size of my headings by dragging on the corner handles. Now add the Ghosts. Oh, it's
looking good already!
TIP - These are vector graphics so they can all be customized. For example, if you wish to have only 2 ghosts instead of 3, select the object (3 ghosts)
and then select the Ctrl and 'u' keys to ungroup them, click somewhere off the group and then select the ghost that you want to remove and press the
Delete key. To regroup the other two ghosts click one and then shift-click on the other to select them, then press Ctrl and 'g' keys to group them. If you
want to change the color of the graphic heading, simply drag one of the colors from the color bar or select one from within the color editor.
Select the Text tool and click drag to create a text line. Then type in your text, putting returns in where you want a new line. Now to format
the text and you will see the controls at the top of the page, just like a normal word processor. First select all the text and then click the
'center' option. Now I select the first line and increase the size and change the color. Simply drag one of the colors from the color bar or select
one from within the color editor.
There you have it.. a fantastic invite created in a matter of minutes!
Now to export it - select File and Export then enter a file name and select pdf from the drop down list. When you then select Export you are given a
selection of sizes depending on whether you want to print it or email it to your friends.
Now select the start of the transparency arrow (the bottom blob) and adjust the transparency slider in the top right
to be about 25%, which means that it will be 25% at the bottom and 100% transparent at the top so that the black of
the page shows through. Exit the Transparency tool and return to the top Selector tool.
Now for the spooky fun! First drag in the SpookyHouse and align it at the bottom of the cloud image. Now drag in the Witch to the right of the house.
Now drag in the Halloween1 and Party1headings. I then reduced the size of my headings by dragging on the corner handles. Now add the Ghosts. Oh, it's
looking good already!
TIP - These are vector graphics so they can all be customized. For example, if you wish to have only 2 ghosts instead of 3, select the object (3 ghosts)
and then select the Ctrl and 'u' keys to ungroup them, click somewhere off the group and then select the ghost that you want to remove and press the
Delete key. To regroup the other two ghosts click one and then shift-click on the other to select them, then press Ctrl and 'g' keys to group them. If you
want to change the color of the graphic heading, simply drag one of the colors from the color bar or select one from within the color editor.
Select the Text tool and click drag to create a text line. Then type in your text, putting returns in where you want a new line. Now to format
the text and you will see the controls at the top of the page, just like a normal word processor. First select all the text and then click the
'center' option. Now I select the first line and increase the size and change the color. Simply drag one of the colors from the color bar or select
one from within the color editor.
There you have it.. a fantastic invite created in a matter of minutes!
Now to export it - select File and Export then enter a file name and select pdf from the drop down list. When you then select Export you are given a
selection of sizes depending on whether you want to print it or email it to your friends.


 © Xara Group 2011