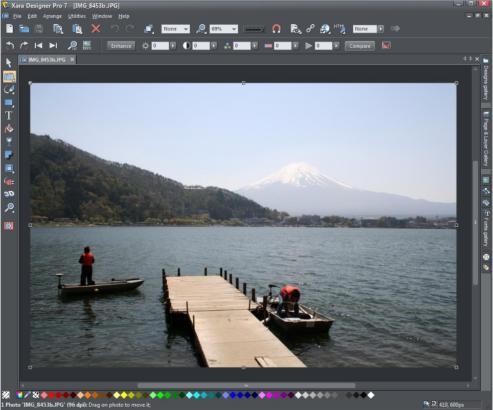


 I have this dull photo, with a washed out sky which I’m going to improve using the Enhance Photo and Transparency tools. Firstly, I drag the photo onto
the title bar which will open it directly in the photo editor (rather than on a new page) and then select it.
My photo with Mount Fuji hardly visible
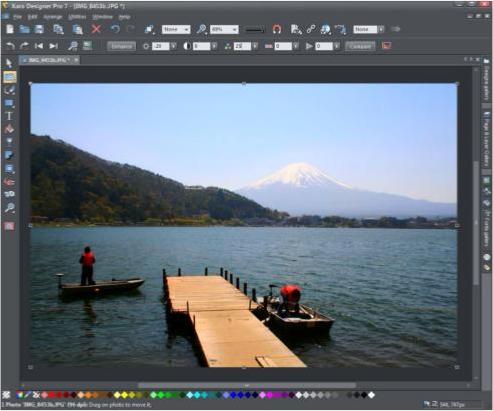
With the Enhance Photos tool selected I click on the auto enhance which has improved the over-exposed sky and given more definition to
Mount Fuji. I have then manually increased the saturation (values can be adjusted with the slider or by entering an exact figure in the box) to
make the sky even more blue, but the rest of the photo has darkened. Select the Compare button, to toggle back and forth between the original
image and the enhanced one.
Enhancing the sky and Mount Fuji
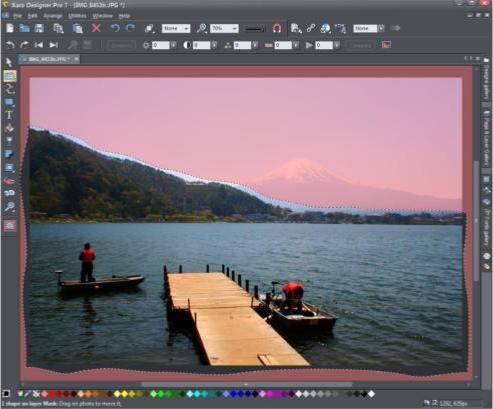
So I now need to correct the foreground land area. I select the Mask tool from the left hand Tool bar and my photo will then have a red skin
over it. With my mouse pointer, I will draw the mask of the area that I want to enhance. I don’t have to be too accurate as I shall blend it with
the remaining area later, however, I do need to ensure that the start and finish join up so that the area is ‘cut out’ from the mask. The pink
mask area remaining will not be affected by my changes.
Masking the sky and mountain
I have this dull photo, with a washed out sky which I’m going to improve using the Enhance Photo and Transparency tools. Firstly, I drag the photo onto
the title bar which will open it directly in the photo editor (rather than on a new page) and then select it.
My photo with Mount Fuji hardly visible
With the Enhance Photos tool selected I click on the auto enhance which has improved the over-exposed sky and given more definition to
Mount Fuji. I have then manually increased the saturation (values can be adjusted with the slider or by entering an exact figure in the box) to
make the sky even more blue, but the rest of the photo has darkened. Select the Compare button, to toggle back and forth between the original
image and the enhanced one.
Enhancing the sky and Mount Fuji
So I now need to correct the foreground land area. I select the Mask tool from the left hand Tool bar and my photo will then have a red skin
over it. With my mouse pointer, I will draw the mask of the area that I want to enhance. I don’t have to be too accurate as I shall blend it with
the remaining area later, however, I do need to ensure that the start and finish join up so that the area is ‘cut out’ from the mask. The pink
mask area remaining will not be affected by my changes.
Masking the sky and mountain


 © Xara Group 2011