


© Xara Group Limited

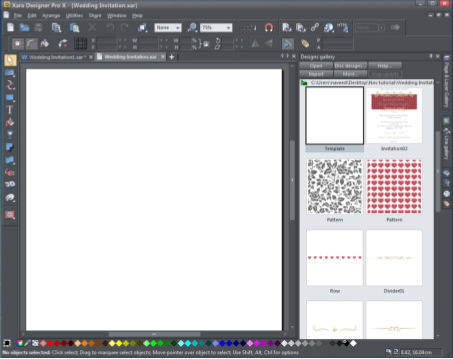
Open Xara Photo & Graphic Designer and the first thing we need to do is add the card template and clipart into the Designs Gallery. On the right you
will see the vertical tab - Designs Gallery. Select it and it will fly out to reveal several folders of designs. In the Designs Gallery select Disc designs then
browse to the folder on your computer that contains the unzipped files (you will see only a Xarainfo file), select it and then select to add it to the
index. Click on the folder and you will see that it contains a blank A6 template, 2 example invites and various patterns and graphic designs.
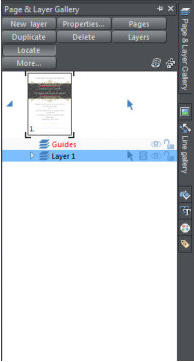
From the Designs Gallery double click the blank template to open it. Once you have the file open, in the Page & Layer Gallery (the vertical tab under
the Designs Gallery), click on the small arrow to the left of the page to reveal the layers. The template is made up from 2 layers:
The Guides layer contains some guidelines to aid the positioning of objects and text when creating the invite. It also has 'Magic Snap' turned on
(the magnetic icon on the top tool bar) which is a great aid to easily aligning objects. The page has a small 'bleed' margin which is the area that
is cut off when the invitations are printed. Layer 1 will contain all the design elements and text.
Creating the background pattern
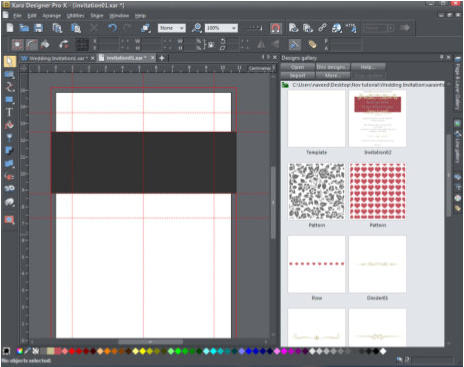
Firstly, we need to draw a rectangle between the top horizontal guides. To do that select the Rectangle tool in the tool bar on the left and
then position the mouse pointer in the top left of the area where we want the background. Click the left mouse button and whilst holding it
down drag it to form your rectangle. (This is known as click-drag). Drag the rectangle out to include the 3mm bleed each side. Notice that it
snaps to the guidelines.
Use the Selector tool to select the rectangle and you can change the color of it by dragging one of the color diamonds from the color line onto
it - I have chosen 80% black as my fill color (hover over the colors to see their names). Alternatively, you can right click the mouse on the
rectangle and select the Fill Color to open the color editor.
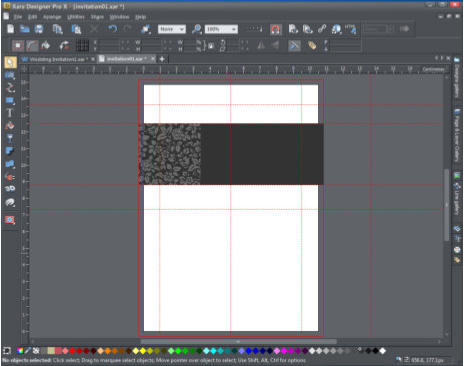
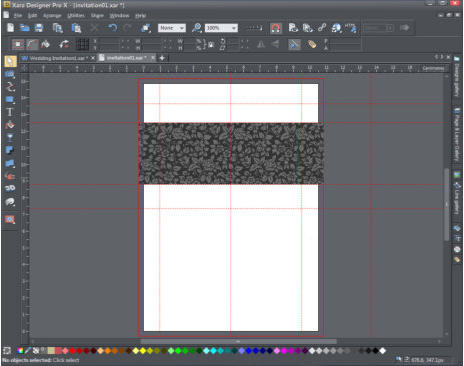
Next we will add the floral background panel. From the Designs Gallery, drag in the floral pattern, this pattern is designed to tile or repeat to form a
seamless block of pattern. Position the pattern block against the left-hand 'bleed' margin.
Background rectangle with one floral pattern tile
Now we need to clone and repeat the pattern. With the rectangle selected, click on the pattern block and from the edit menu select Clone group
(Ctrl+K) this creates a copy positioned exactly over the original. Drag the cloned rectangle to the right and snap it into position alongside the first
pattern. Repeat for the third pattern.
Fully tiled Background
Adding the decorative elements
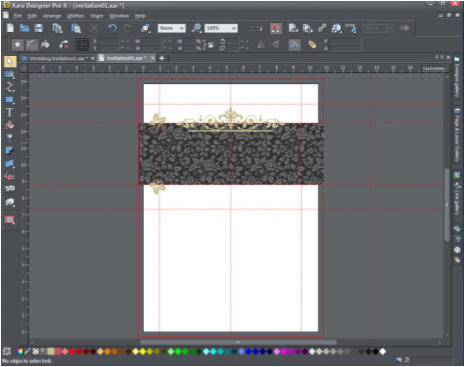
From the Designs Gallery, drag in Motif 1 onto the patterned background. Select the motif and use the guidelines to position it centrally on the page -
you can use the keyboard arrow keys to nudge it in tiny steps.
To add a couple of leaf motifs, drag in and position one leaf to the left-hand side of our new background. I think this leaf would look better the
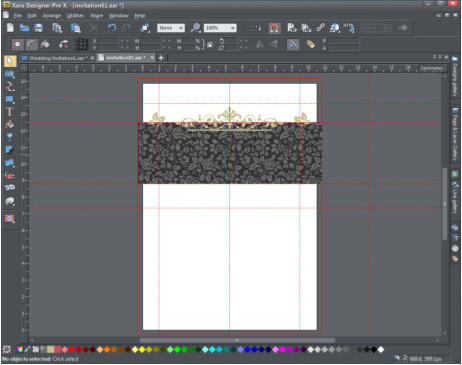
other way up so I ''flipped' it using the 'flip vertically' button on the InfoBar (when in the Selector tool). The best way to create a symmetrical
design is to flip a copy of this graphic horizontally around the central axis of the page.
To do this select the leaf motif, clone it using Ctrl+K, and turn on 'Show rotation handles' (fourth icon on the top InfoBar in the Selector tool).
You will now see a cross hair symbol positioned at the center of the leaf object. Drag the symbol horizontally until it snaps to the center
guideline of the page and with the object still selected, hit the 'Flip horizontally' button to create a mirror image of the leaf, accurately
positioned to the right-hand side of the page.
Floral tiled background with top graphics