thinking outside the box
SmartShapes Tutorial


XARA TUTORIAL
Text here...


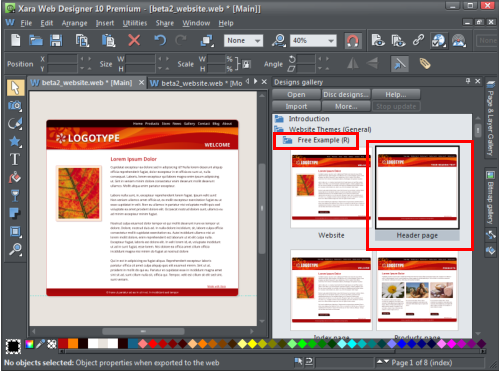
Firstly, I will open a web page design into which I will add some shapes. Move your mouse over the ‘Designs Gallery’ label on the right side of the
window and click on the Website Themes to see the many designs and template layouts. Click on the Folder - Free Example (R) and then double click on
‘Header Page’ to open it as a new page. Note that (R) means that it will open in two tabs because this is a website pre-configured to respond
dynamically to the screen size of the viewer, so there are both desktop computer and mobile device variants. This is a great new feature in Xara Web
Designer 10 Premium.
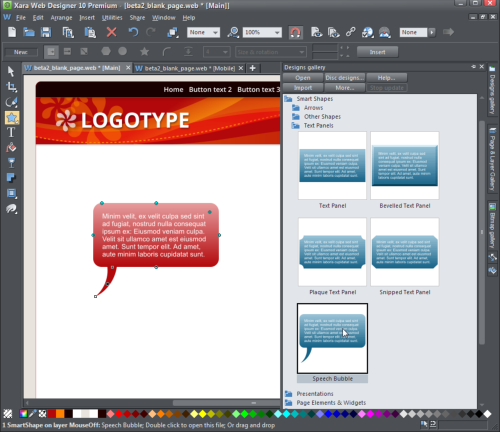
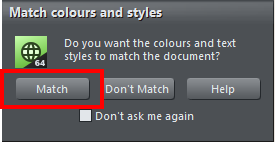
Now I’ll go back to the Designs Gallery and open the folder SmartShapes then Text Panels and drag the Speech Bubble onto the page. At the prompt that
asks if I wish to match the color & text style of the document, I select Match.
Inserting a SmartShape from the Designs Gallery
You can also also access the SmartShapes in the online Content Catalog - go to Insert > From Content Catalog and double click on the shape or select
‘import’ to bring it into your document.
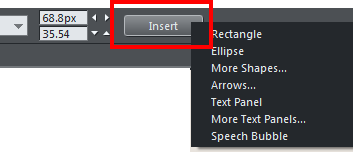
When you open a SmartShape, you’ll see that the QuickShape tool is now active. If you look on the QuickShape InfoBar you’ll see an Insert button that
gives you direct access to add the more commonly used SmartShapes of Arrows, Text Panels and Speech Bubbles as well the regular QuickShapes such as
rectangles and ellipses.
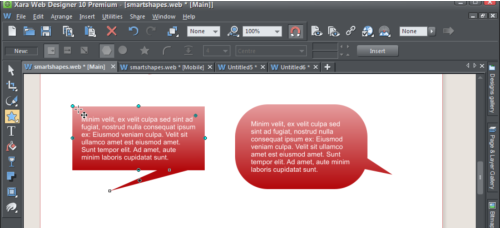
With the Speech Bubble, the edit handles allow you to change the dimensions of the bubble, add curvature, control the text area, and also tweak the
size and orientation of the bubble's arrow. You can edit the text using the Text Tool and change the colors using the color editor.
We’ll start by changing the position, size and orientation of the bubble’s arrow. You’ll notice there are three edit points on the arrow. Click & drag on
the bottom edit point of the arrow to change its length, the mid point will change the curvature to left or right, or make it straight, and the top edit
point will change its position on the speech shape - note that the arrow can be moved to anywhere around the edge of the speech shape.
Speech Bubbles showing changes of arrow shape and orientation
The side, top and bottom handles can be dragged to change the width or height of the Speech Bubble. Drag the top left handle to change the curvature
of the Speech Bubble – dragging it outward will create a rectangle with straight sides and dragging it inward will increase the curvature of the four
‘corners’. The edit handle at the top right of the text will change the margin between the text and the outer edge of the Speech Bubble. In the
rounded bubble below, I have moved it inward to increase the margin.
Straight edge and curved versions of the Speech Bubble
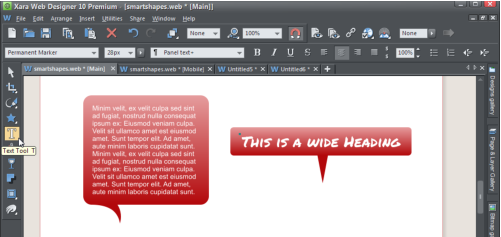
Now select the Text Tool and increase the amount of text – see how the Speech Bubble automatically enlarges to accommodate the new text.
You can use any of the Text functions and in this long one I have changed the font and made the heading bold.
Speech Bubbles with text changes
Now I shall change the color of both the background and the text. Using either the Selector Tool to select the object, or the Text Tool, simply
drag a color from the bottom color line and I am asked if I want to change the Theme color or the Text color. I shall make the Theme color lighter
and then drag a darker color in for my text.
Changing the Bubble and Text colors
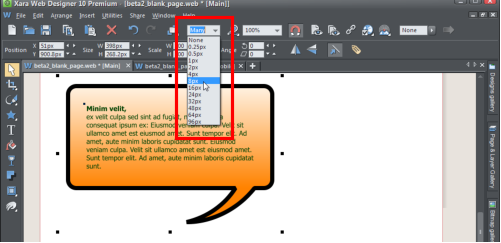
With the object selected I shall now add an outline around the Speech Bubble using the ‘Set line width’ function – in the example below I have
increased the line width to 8 pixels wide. To change the color of the ‘border’ simply drag in a color and then select to change the outline color.
Increasing the width of the outline
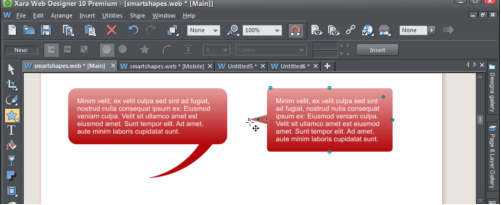
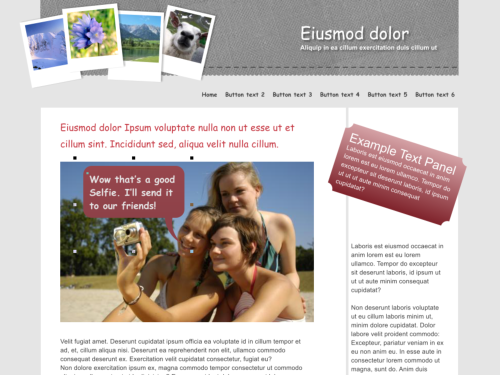
As you have seen, it is really easy to adapt a speech bubble SmartShape to the requirements for your own website or document, and other SmartShapes
can be edited using similar principles. Here’s an example web page with a speech bubble and text panel.
Example of a speech bubble and text panel on a web page.
Xara Web Designer is an incredibly flexible web design program, that doesn’t require any knowledge of HTML. If you’re a creative designer your options
are unlimited with Web Designer. If you’re less creative, or simply don’t have the time, then you can simply customize the templates and graphics as
we’ve done here. I hope you enjoy using Xara Web Designer.
For more tutorials by Xara and third parties, check out our Resource index, which offers a searchable and browsable list of movies and tutorials created
by Xara and third parties.


Drag a color from the
bottom color line, you will
be asked if you want to
change the Theme color or
the Text color