


OK You’ve Waited Long Enough...
For years we have all either whined about or listened to others whine about the fact that Xara, a vector drawing program I might point out, does not
have an eraser tool like the bitmap editing programs do. Well, stop whining. Because now you not only have a Shape Eraser Tool, that erases both
bitmaps and vector objects, blends and more, but there’s a new Shape Builder Tool which is like a paint brush. If it’s on the page, you can erase it.
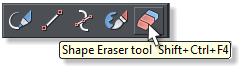
When you select the Shape Eraser Tool, you will see these options on the Infobar: Nib Size, six eraser sizes that you can switch between using the
numbers 1 - 6 on your keyboard. Roundness, from circular to elliptical. Roundness settings extend from 10, a tall, thin vertical elliptical shape to 190 a
horizontal elliptical shape. Angle, rotates an elliptical eraser from 0 to 90 degrees. Softness, is the degree of feathering that is added so you can erase
a shape with a soft feathered edge. Softness can be set from 0, no feathering, to 200, so much softness that nothing is erased. Smoothing works just
like the Freehand and Brush Tool Smoothing slider, lower numbers give you more accuracy and higher numbers make your freehand erasing smoother.
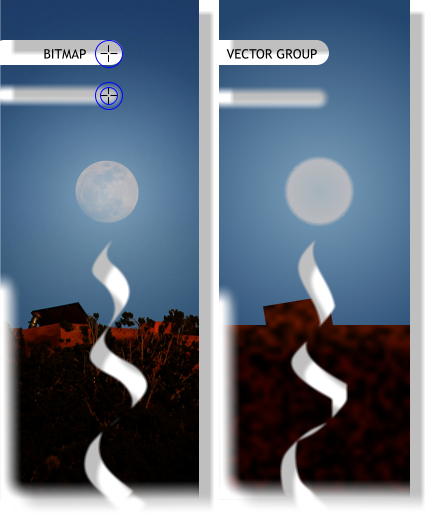
Shown here are two images, a bitmap on the left and my crude grouped vector reproduction on the right. I’ve erased portions using no softness and
some softness. I have added a drop shadow so you can see that the images have in fact been erased.
That’s pretty amazing. But this is even more amazing. The Eraser Tool is non-destructive. What’s that mean? It means that if later today, next week, or
next year, you decide you want restored what you previously erased, simply Ungroup the image. The erasures now become separate objects which you
can delete or add back using Arrange > Combine Shapes > Subtract Shapes
The Shape Builder Tool (Designer Pro X only)
The Shape Builder Tool adds to a bitmap or vector object. The Infobar options are exactly the same. When you select one of the Nibs the cursor
changes to a circle and cross-hairs to let you see the size of the erasure or addition. If you add Softness to the brush, the cursor shows the outer edge
of the addition or subtraction as well as the amount of feathering.
I cropped the bitmap shown above left. The red outline represents the actual photo before cropping. I used the Shape Builder Tool to add on a
vignetted shape to the photo shown bottom right.
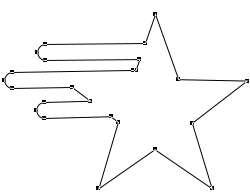
If you click on an object, and if you have not added Softness to your stroke, then the shape you are drawing is added to the selected shape as shown in
the top example. The outline view top right shows that the added stokes have been combined with the selected object.
If softness is added, then the resulting stokes are rendered as separate feathered vector objects in your default fill color. You can add these to an
existing object using Arrange > Combine Shapes > Add Shapes or simply press Ctrl +1.
If two objects are selected and you draw from one shape to the other and no softness is applied to the stroke, the shapes are combined into one shape.
I bet if you played around a little bit, and if you have more artistic ability than I, you could actually create some very painterly effects. By altering the
angle and width, you can create some calligraphic effects such as those shown below.


© Gary W. Priester