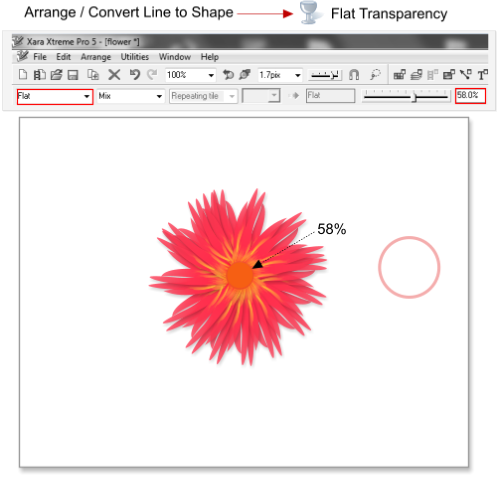
 Step 21: Select the outlined circle and choose Arrange > Convert line to shapes, then apply a flat transparency of 58%.
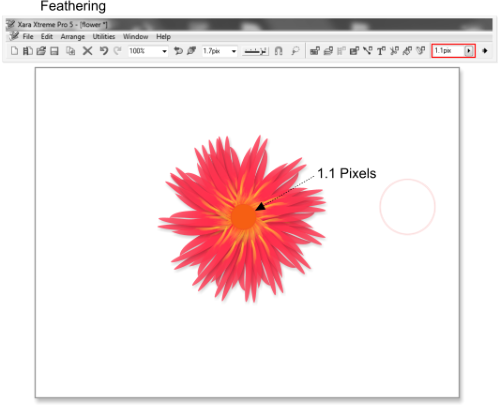
Step 22: With the outlined circle still selected add a feathering of 1.1 pixels.
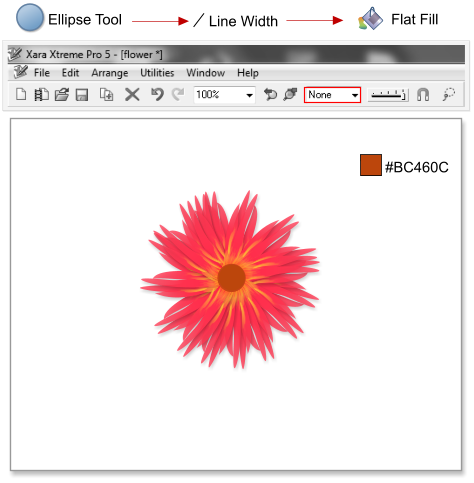
Step 23: With the Ellipse tool create another new circle over the central flower button, remove the line color and change the fill color to #BC460C.
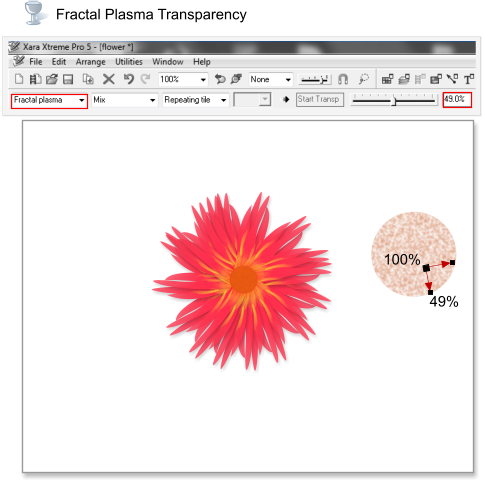
Step 24: Select the circle created in the step 23 and apply a fractal plasma transparency from 100% to 49%, as shown in the image below.
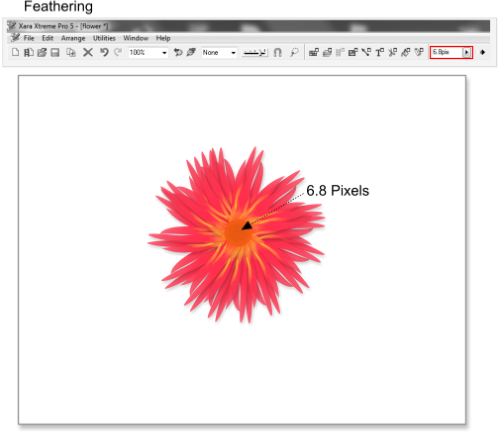
Step 25: With the same circle still selected, apply a feathering of 6.8 pixels.
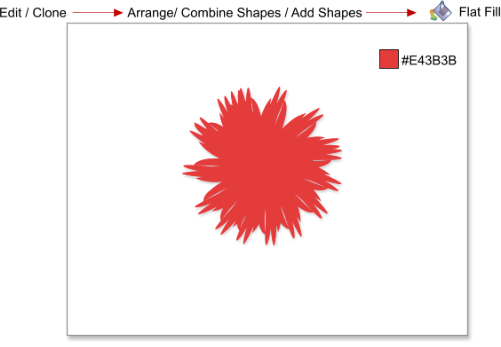
Step 26: Select all the shapes and clone them using the shortcut Ctrl+K, and then choose Arrange > Combine Shapes > Add Shapes or use the shortcut
Ctrl+1. Change the fill color to #E43B3B.
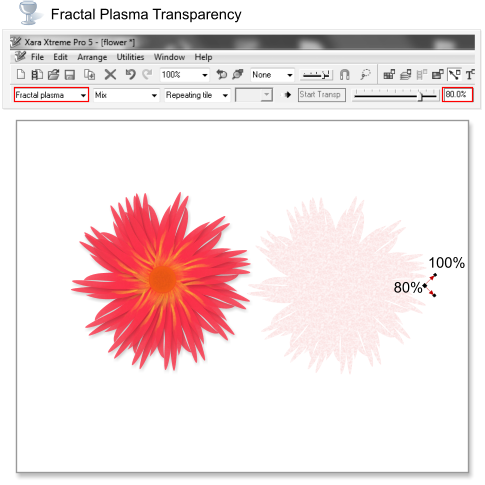
Step 27: Select the shape created in the step 26 and apply a fractal plasma transparency from 80% to 100%, as shown in the image below.
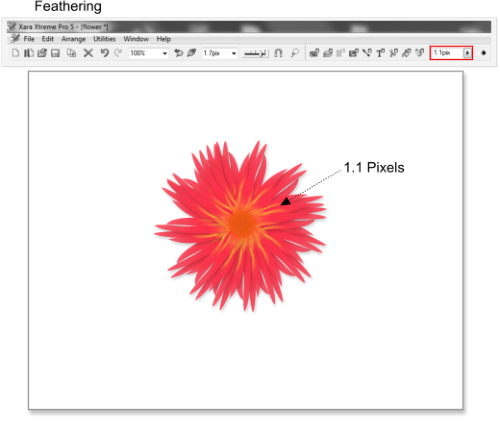
Step 28: With the same shape still selected, apply a feathering of 1.1 pixels.
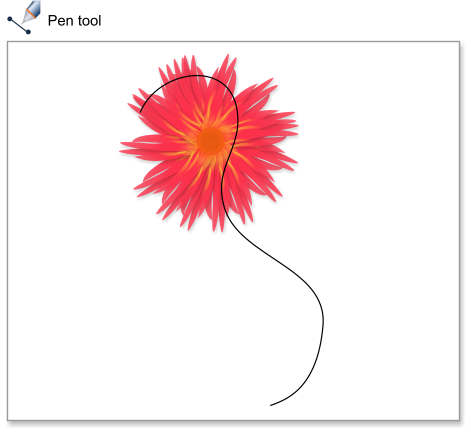
Step 29: With the Pen tool or the Freehand tool create a line, as shown in the image below.
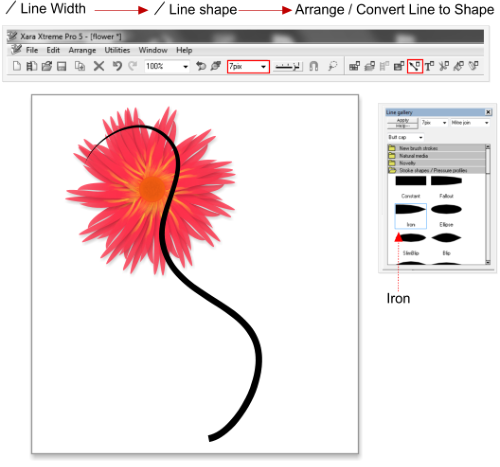
Step 30: Select the line and change the line width to 7 pixels, then open the Line Gallery, open the Stroke Shapes folder and apply ‘Iron’ as the line
shape. With the line selected choose Arrange > Convert line to shape.
Step 21: Select the outlined circle and choose Arrange > Convert line to shapes, then apply a flat transparency of 58%.
Step 22: With the outlined circle still selected add a feathering of 1.1 pixels.
Step 23: With the Ellipse tool create another new circle over the central flower button, remove the line color and change the fill color to #BC460C.
Step 24: Select the circle created in the step 23 and apply a fractal plasma transparency from 100% to 49%, as shown in the image below.
Step 25: With the same circle still selected, apply a feathering of 6.8 pixels.
Step 26: Select all the shapes and clone them using the shortcut Ctrl+K, and then choose Arrange > Combine Shapes > Add Shapes or use the shortcut
Ctrl+1. Change the fill color to #E43B3B.
Step 27: Select the shape created in the step 26 and apply a fractal plasma transparency from 80% to 100%, as shown in the image below.
Step 28: With the same shape still selected, apply a feathering of 1.1 pixels.
Step 29: With the Pen tool or the Freehand tool create a line, as shown in the image below.
Step 30: Select the line and change the line width to 7 pixels, then open the Line Gallery, open the Stroke Shapes folder and apply ‘Iron’ as the line
shape. With the line selected choose Arrange > Convert line to shape.

 © José Campoy