


© Xara Group Limited


Step 3. Adding content to the index (Home) page
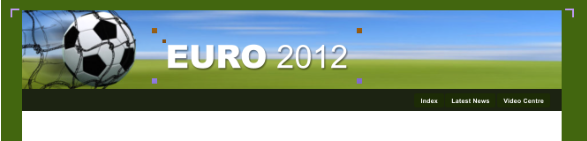
Now we can add some content to the pages. The header area needs some text or graphic logo. Drag the Euro 2012 logo from the Designs Gallery and
position it where you like in the header area. Once again it would be useful to have this repeat on all pages so right click on the text and select ‘Repeat
on all pages’.
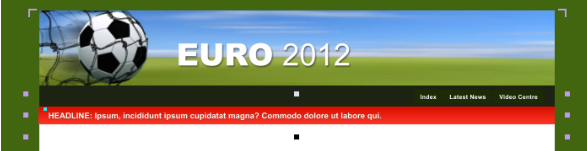
Below the header I am going to add a Headline banner so drag the banner from the Designs Gallery and position it on page. Notice how it snaps itself
tightly to the header as if there is a magnet there.
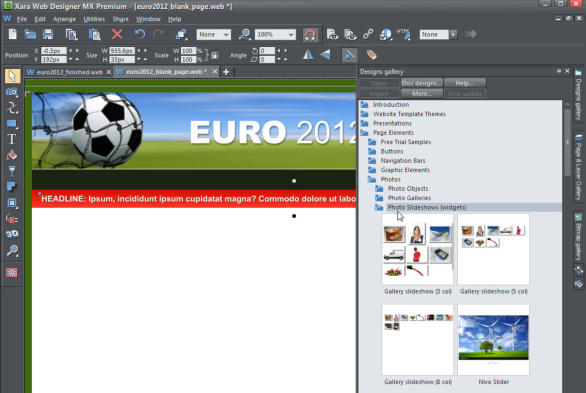
Next I am going to add a slideshow widget. You can find many add-on pages widgets in the Designs Gallery and I’m going to add the Nivo Slider. Double
click on Page Elements > Photos > Photo Slideshows (widgets), drag the Nivo Slider from the gallery onto the index page and position it. You can use the
corner handles to expand or reduce its size.
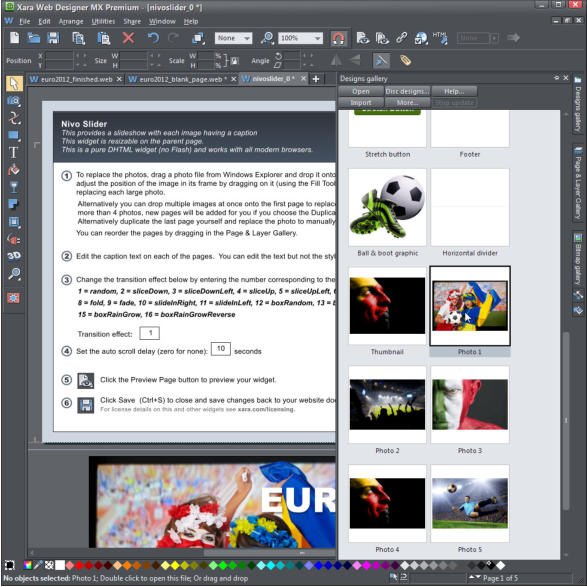
To edit the caption text and change the photos, double click on the widget to see the editing instructions, which will open in a new tab. Drag photos
from your local hard drive (we’ve used some examples from stock photo supplier Fotolia).
The web page would look good with a highlighted column to the left of the slideshow. From the Euro 2012 folder in the Designs Gallery drag the
Highlight column onto the page and put it into position – notice that there are feint grid lines to help you align it. (We have used the embed graphics
feature to create a single object where everything becomes one object, moving and extending together. I will show you how to create that in part 2)
We will now add a full width text column below the text panel and slideshow. Select the text tool in the left-hand tools options, click on the
page and drag the thin line to the required column width then type or paste in your text.
Tip: it is often useful at the initial design stage to add pseudo Latin body text and later replace it with your real content. To add body text, insert the
text cursor at the beginning of your text column and use the keyboard shortcut of Ctrl+Shift+L, Keep repeating this until you have the required amount
of text.
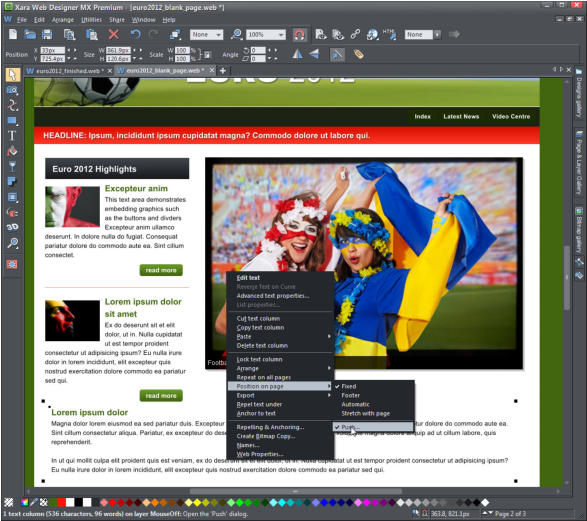
To make the page extend as the text increases, select the Selector tool (top tool) and right click on the text then select ‘Position on page and
then ‘Push’. In the push dialog, check push, then enter the margins - I have chosen a top margin of 5 pixels and a bottom margin of 30 pixels.
Now a margin of 30 pixels between the text and footer will always be maintained.
Finally, I am going to add the ball and boots graphic to the bottom of the page. From the Designs Gallery drag the graphic onto the page and position it
just above the footer, to the right-hand side of the page. To maintain its position relative to the footer when the page depth increases, right click on
the graphic and select ‘Position on page’ then check footer, now the graphic will stay with the footer as the page depth increases. To make the graphic
appear on all pages, right click and choose ‘Repeat on all pages.
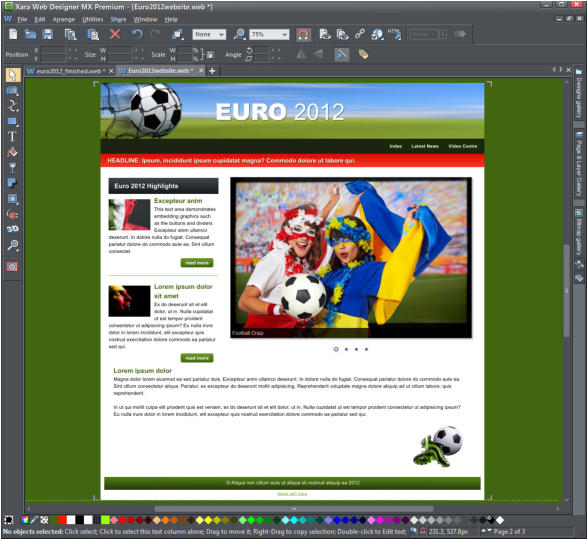
The Index page now completed so let’s preview it by selecting the Preview current webpage icon on the top control bar. Notice that you can select any
of the icons at the top to view it in different web browsers.
Now save the website – select File > Save which will save your website as a .web file which is the working format for Xara Web Designer. To save the
HTML files for viewing in a browser you must choose the File > Export Website menu option. This creates one HTML file for each page of your website
and puts all the associated files into a folder next to this.
To publish your website on the web for all to see, you need to upload it to your web space. You can use any host but don’t forget we provide a
completely free hosting offer from MAGIX Online World with every copy of Web Designer, including 500 megabytes of web space. The process of
transferring your website from your hard disk to the web server at your hosting company is called FTP upload (file transfer protocol). You need three
pieces of information: Your FTP host address, your username and password. Then select File -> Publish Website, and you’ll be asked to enter those three
FTP details.
That’s it for now. Next month we will return to our site to show you how to add news widgets and movies. See the finished Euro2012 website (including
the extra two pages that we’ll cover next month!)


