


© Xara Group Limited


Step 2: Adding content to the News page
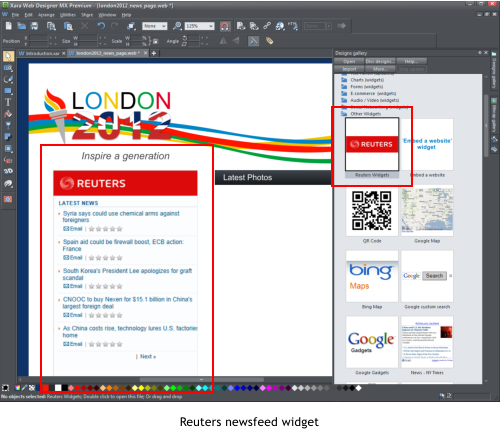
First we will add a Reuters newsfeed widget. Go to the Designs gallery > Page Elements > Other widgets > Reuters widgets and select the type of news
you require (unfortunately there is no sport news at present), copy the 'embed code' using Ctrl C and click 'insert' at the bottom of the widget editor.
Now position it in the left-hand column.
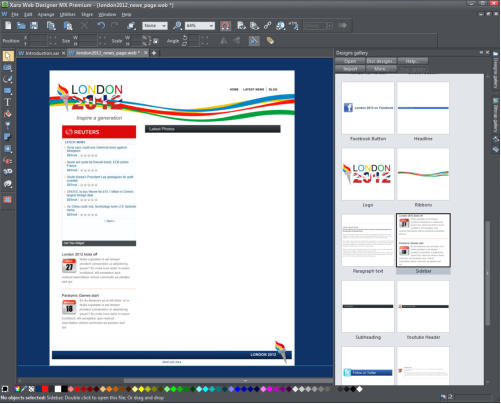
From the files we provided in the Designs gallery, drag in the 'Sidebar' and place it under the Reuters newsfeed. (To create a similar sidebar from
scratch, ie text with embedded graphics see the Sports website tutorial Part 1).
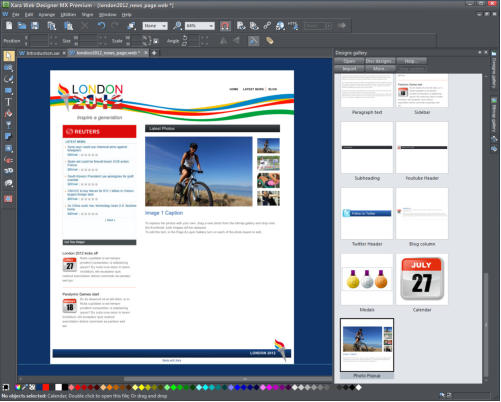
Drag in the 'Subheading' and the 'Photo Popup' and put them into position in the right-hand column. (The Photo Popup is designed so when your visitors
click one of these thumbnail images, it will show as the larger pop-up). To replace any of the photos, simply drag and drop a photo from your photos
folder on your computer onto one of the thumbnail images. The thumbnail images and the large image are all instances of the same photo, so the large
image will automatically be replaced.
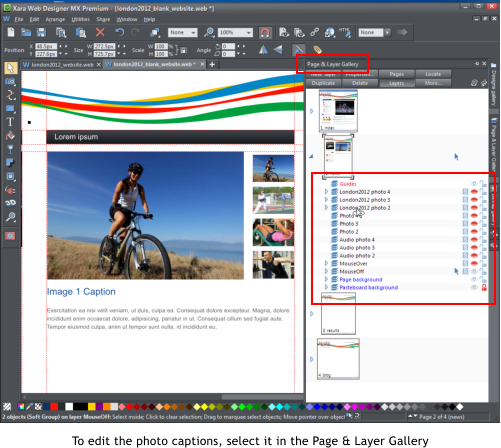
You can edit the text caption for the first image as it is visible on the page. To edit the text that accompanies the other three photos, expand the News
page in the Page & Layer Gallery then click the red eye icon on the relevant filename to make the text 'visible' eg London2012 photo2. The text of the
photo pop ups are set to 'push' so when you add longer text it will push the text below to extend the page.
To balance the page it needs a paragraph of text below the photo popup. You could create your own paragraph or drag in the 'Paragraph text' from our
folder in the design gallery, which has already been styled and is set to 'push'.
Step 3: Adding content to the Blog page
Finally, we will create a quick blog page. From the Design Gallery, drag the blog column that we have provided and align it centrally on the page using
the central guideline, that appears, to help it snap in place. The blog column is a text column with an anchored graphic and a rule-off so we can easily
repeat it in the column.
Using the text tool, highlight everything from the beginning of the Headline text to the end of the rule off. Ctrl C to copy it to the clipboard,
then position the mouse cursor under the beginning of the rule-off divider and Ctrl P to paste it. Repeat as often as you wish. As you add more
text in the blogs everything is pushed down - the graphics stay in the correct relative position, and the page footer is moved down automatically
to enlarge the page (when entering your text remember that it's tradition to add new blog entries at the top),
Step 4: Saving and publishing
The website is now completed so let's preview it by selecting the Preview current webpage icon on the top tool bar. Notice that you can select any of
the icons at the top of the preview window to view it in different web browsers.
Now save the website - select File > Save which will save your website as a .web file which is the working format for Xara Web Designer. To save the
HTML files for viewing in a browser you must choose the File > Export Website menu option. This creates one HTML file for each page of your website
and puts all the associated files into a folder next to this.
To publish your website on the web for all to see, you need to upload it to your web space. You can use any host but don’t forget we provide a
completely free hosting offer from MAGIX Online World with every copy of Web Designer, including 500 megabytes of web space. The process of
transferring your website from your hard disk to the web server at your hosting company is called FTP upload (file transfer protocol). You need three
pieces of information: Your FTP host address, your username and password. Then select File -> Publish Website, and you’ll be asked to enter those three
FTP details.
We have provided the finished website in the files in the Designs Gallery so double click on 'Website' to open it and then select the Preview whole
website icon on the top tool bar to view all the pages. Or see it live on the web - Olympics website
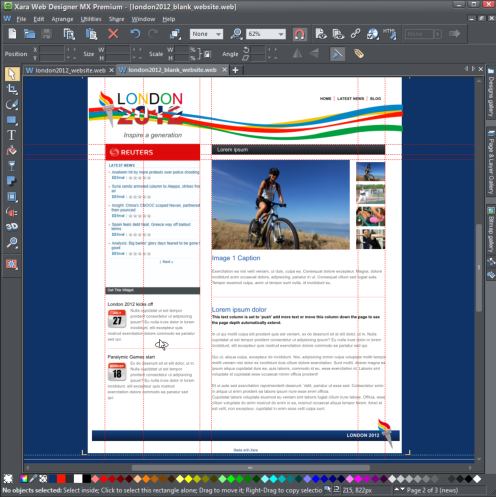
The finished News page
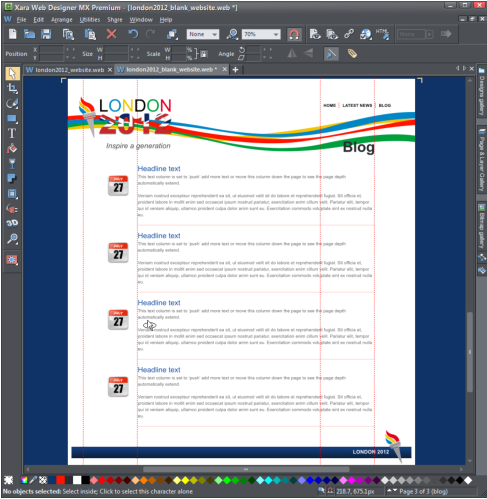
Finished Blog page