


 This month we have some hints and tips for customizing the web page and web page background in Web Designer 6 and 7, Web Designer Premium 7 and
Designer Pro 6 and 7.
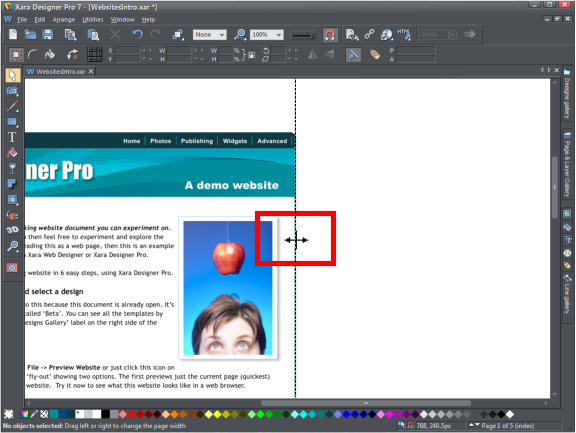
Most people realize that you can easily change the page width or height by simply dragging the border - in the Selector tool, hover over the edge
of the page until the mouse pointer changes to indicate that you can drag it.
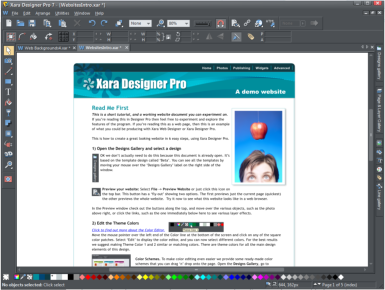
But you may not realize that you also have a lot of control over both the page color and the page background color. To change the page color just drag
and drop a color from the color line onto the page.
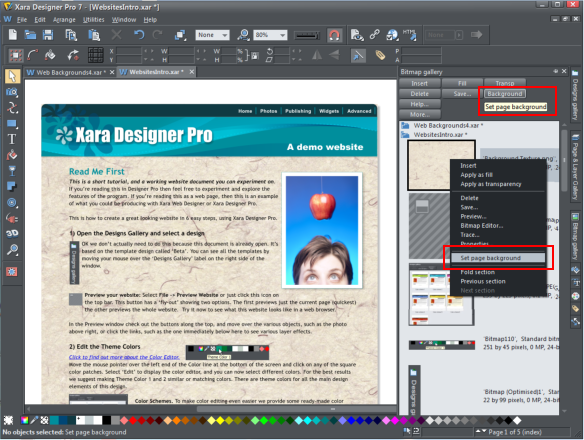
You aren’t just limited to plain colors, you can also use a photo or bitmap as a tiling background texture. Undo the last change and simply drag and drop
the photo or bitmap that you want to use onto your document. Open the Bitmap Gallery, scroll to the photo or bitmap you just loaded, click on it to
select it, and then click the 'Background' button on the gallery (or right click and select the 'set page background' option).
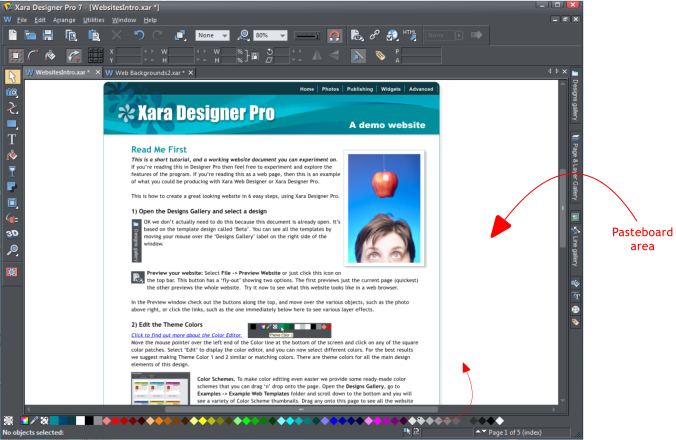
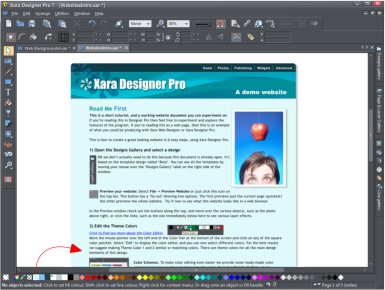
To change the page background color drag and drop a color from the color line onto what we call the ‘pasteboard’ area around the page.
So here for example I’ve added a grey pasteboard color to the beta theme.
I can easily edit this color by right clicking on the pasteboard and choosing ‘Change background color’, which displays the color editor. I can reset it the
default color with a right click > ‘Default pasteboard color’.
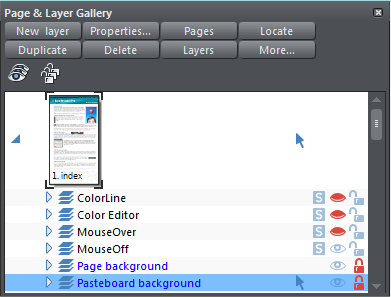
Changing the page and pasteboard colors creates new page and pasteboard layers, and you’ll find them now in the Page & Layer Gallery, called ‘page
background’ and ‘pasteboard background’.
This month we have some hints and tips for customizing the web page and web page background in Web Designer 6 and 7, Web Designer Premium 7 and
Designer Pro 6 and 7.
Most people realize that you can easily change the page width or height by simply dragging the border - in the Selector tool, hover over the edge
of the page until the mouse pointer changes to indicate that you can drag it.
But you may not realize that you also have a lot of control over both the page color and the page background color. To change the page color just drag
and drop a color from the color line onto the page.
You aren’t just limited to plain colors, you can also use a photo or bitmap as a tiling background texture. Undo the last change and simply drag and drop
the photo or bitmap that you want to use onto your document. Open the Bitmap Gallery, scroll to the photo or bitmap you just loaded, click on it to
select it, and then click the 'Background' button on the gallery (or right click and select the 'set page background' option).
To change the page background color drag and drop a color from the color line onto what we call the ‘pasteboard’ area around the page.
So here for example I’ve added a grey pasteboard color to the beta theme.
I can easily edit this color by right clicking on the pasteboard and choosing ‘Change background color’, which displays the color editor. I can reset it the
default color with a right click > ‘Default pasteboard color’.
Changing the page and pasteboard colors creates new page and pasteboard layers, and you’ll find them now in the Page & Layer Gallery, called ‘page
background’ and ‘pasteboard background’.


 © Xara Group Limited