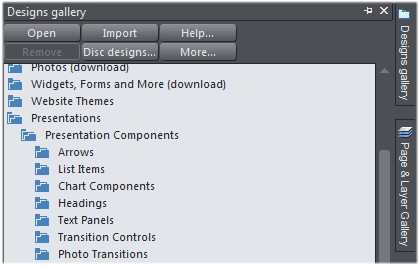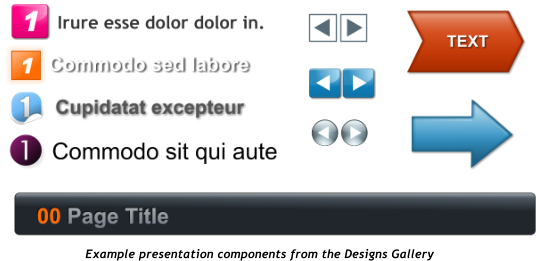


 Step 10: The Designs Gallery includes some useful components for presentations, under Presentations > Presentation components. Just drag and drop a
component onto your page. Each component is added to a new step automatically for you, so it becomes the last step on the page. If that's not what
you want, then as described above you can use the Presentation Toolbar or the right-click Presentation menu to move it to a different step, or to the
background (MouseOff) layer.
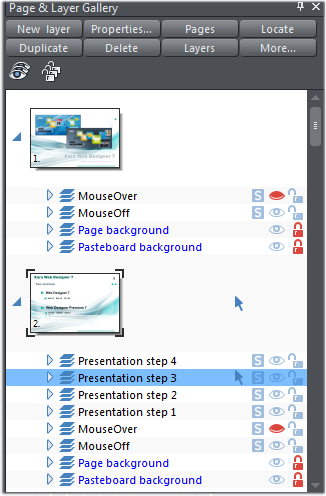
Step 11: If you want to do a lot of work on a particular presentation step, try using the Page & Layer Gallery. The gallery shows you all the presentation
steps on your page, in order, since each presentation step is in fact just a separate layer. Click on the layer/step you want to work on and it becomes
the current layer. Now anything you draw or any new text you add will be added to that layer, instead of to the MouseOff layer. Remember: Make the
MouseOff layer current again when you're done!
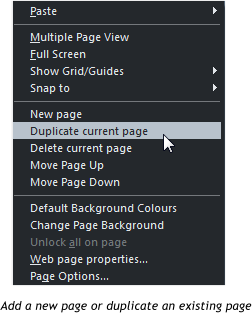
Add more pages to your presentation the same way. Or duplicate the current page and then modify the content. The easiest way to do this is to right-
click on an empty part of the page and use the options in the context menu that appears.
So there you have the main steps for creating online presentations in either Designer Pro 7 or Web Designer 7 Premium. You can find a second tutorial
on creating remote presentations or Webinars here.
This tutorial was created in Xara Designer Pro. © Xara Group Ltd 2011
Step 10: The Designs Gallery includes some useful components for presentations, under Presentations > Presentation components. Just drag and drop a
component onto your page. Each component is added to a new step automatically for you, so it becomes the last step on the page. If that's not what
you want, then as described above you can use the Presentation Toolbar or the right-click Presentation menu to move it to a different step, or to the
background (MouseOff) layer.
Step 11: If you want to do a lot of work on a particular presentation step, try using the Page & Layer Gallery. The gallery shows you all the presentation
steps on your page, in order, since each presentation step is in fact just a separate layer. Click on the layer/step you want to work on and it becomes
the current layer. Now anything you draw or any new text you add will be added to that layer, instead of to the MouseOff layer. Remember: Make the
MouseOff layer current again when you're done!
Add more pages to your presentation the same way. Or duplicate the current page and then modify the content. The easiest way to do this is to right-
click on an empty part of the page and use the options in the context menu that appears.
So there you have the main steps for creating online presentations in either Designer Pro 7 or Web Designer 7 Premium. You can find a second tutorial
on creating remote presentations or Webinars here.
This tutorial was created in Xara Designer Pro. © Xara Group Ltd 2011