


 Navigation Bar
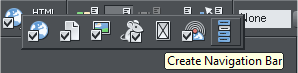
A feature that is bound to please a lot of people is the new Create Navigation Bar tool which is found in the Website Properties fly
out menu. This feature automatically creates and updates a navigation bar as new pages are added, or page titles are changed. You
can create fly-out or drop down menus. And it’s not rocket science. It’s straight-forward and easy.
The first step is to create a simple button. Create a Mouse Over version, center both and Apply a Soft Group (Arrange menu).
With the button selected, open the Website Properties fly-out menu and click the Create Navigation Bar icon.
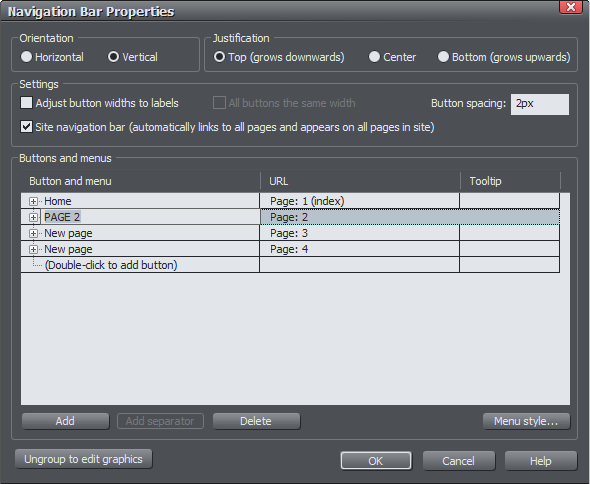
The Navigation Bar Properties menu opens. You can select Vertical or Horizontal orientation and set a space between buttons. You
can have the width for all new buttons adjust automatically, have all buttons be the same width (based on the button with the most
text), or have all buttons be the same size as the one you designed.
If you check Site Navigation Bar (automatically links....), the Navigation Bar automatically appears at the same place on each page.
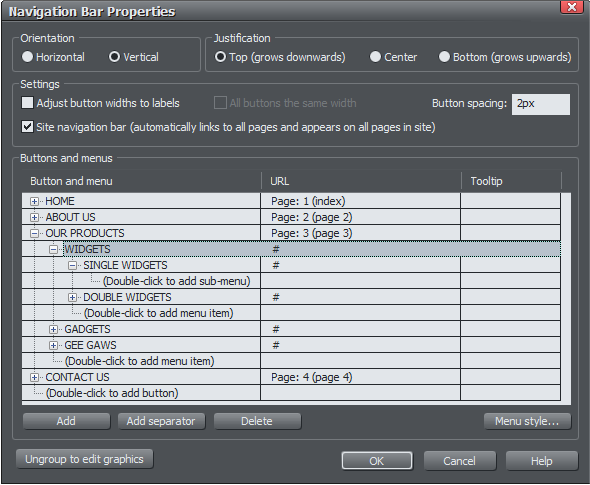
You can add page menu buttons as well as fly-out menus and shown above. Each button has a small + icon. Click the + to open the
sub-menu options. Double click where indicated to add a new menu item. Rename the page, and double click in the URL box to add a
link.
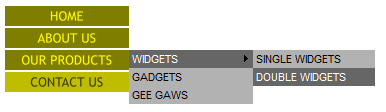
NOTE: The fly out menus are limited to rectangular buttons with text, so for consistency sake it’s better to use simple rectangular
buttons for your main buttons. Unless you don’t plan to use sub-menus in which case the sky’s the limit.
Navigation Bar
A feature that is bound to please a lot of people is the new Create Navigation Bar tool which is found in the Website Properties fly
out menu. This feature automatically creates and updates a navigation bar as new pages are added, or page titles are changed. You
can create fly-out or drop down menus. And it’s not rocket science. It’s straight-forward and easy.
The first step is to create a simple button. Create a Mouse Over version, center both and Apply a Soft Group (Arrange menu).
With the button selected, open the Website Properties fly-out menu and click the Create Navigation Bar icon.
The Navigation Bar Properties menu opens. You can select Vertical or Horizontal orientation and set a space between buttons. You
can have the width for all new buttons adjust automatically, have all buttons be the same width (based on the button with the most
text), or have all buttons be the same size as the one you designed.
If you check Site Navigation Bar (automatically links....), the Navigation Bar automatically appears at the same place on each page.
You can add page menu buttons as well as fly-out menus and shown above. Each button has a small + icon. Click the + to open the
sub-menu options. Double click where indicated to add a new menu item. Rename the page, and double click in the URL box to add a
link.
NOTE: The fly out menus are limited to rectangular buttons with text, so for consistency sake it’s better to use simple rectangular
buttons for your main buttons. Unless you don’t plan to use sub-menus in which case the sky’s the limit.